Zenobia St. Master Bath
January 6th, 2020
Well, it’s been a minute since we wrote a blog post! But we just wrapped up this gorgeous master bath remodel at the end of last year and thought it would be a perfect opportunity to give a look into the c2Design process. You can read more about our 10 step process on this page but here is a breakdown of how it worked for this project:
Step 1: The Initial Consultation
We have worked with these clients before to remodel the entire main level of their home (check out pictures of the Zenobia St. Main Level project in our Residential Portfolio!) so we already had a good rapport with them and a sense of their style. Our principal designer, Corinne, met with the couple at their home, took photos and measurements of the existing bathroom, and discussed what their dream bathroom would look like.
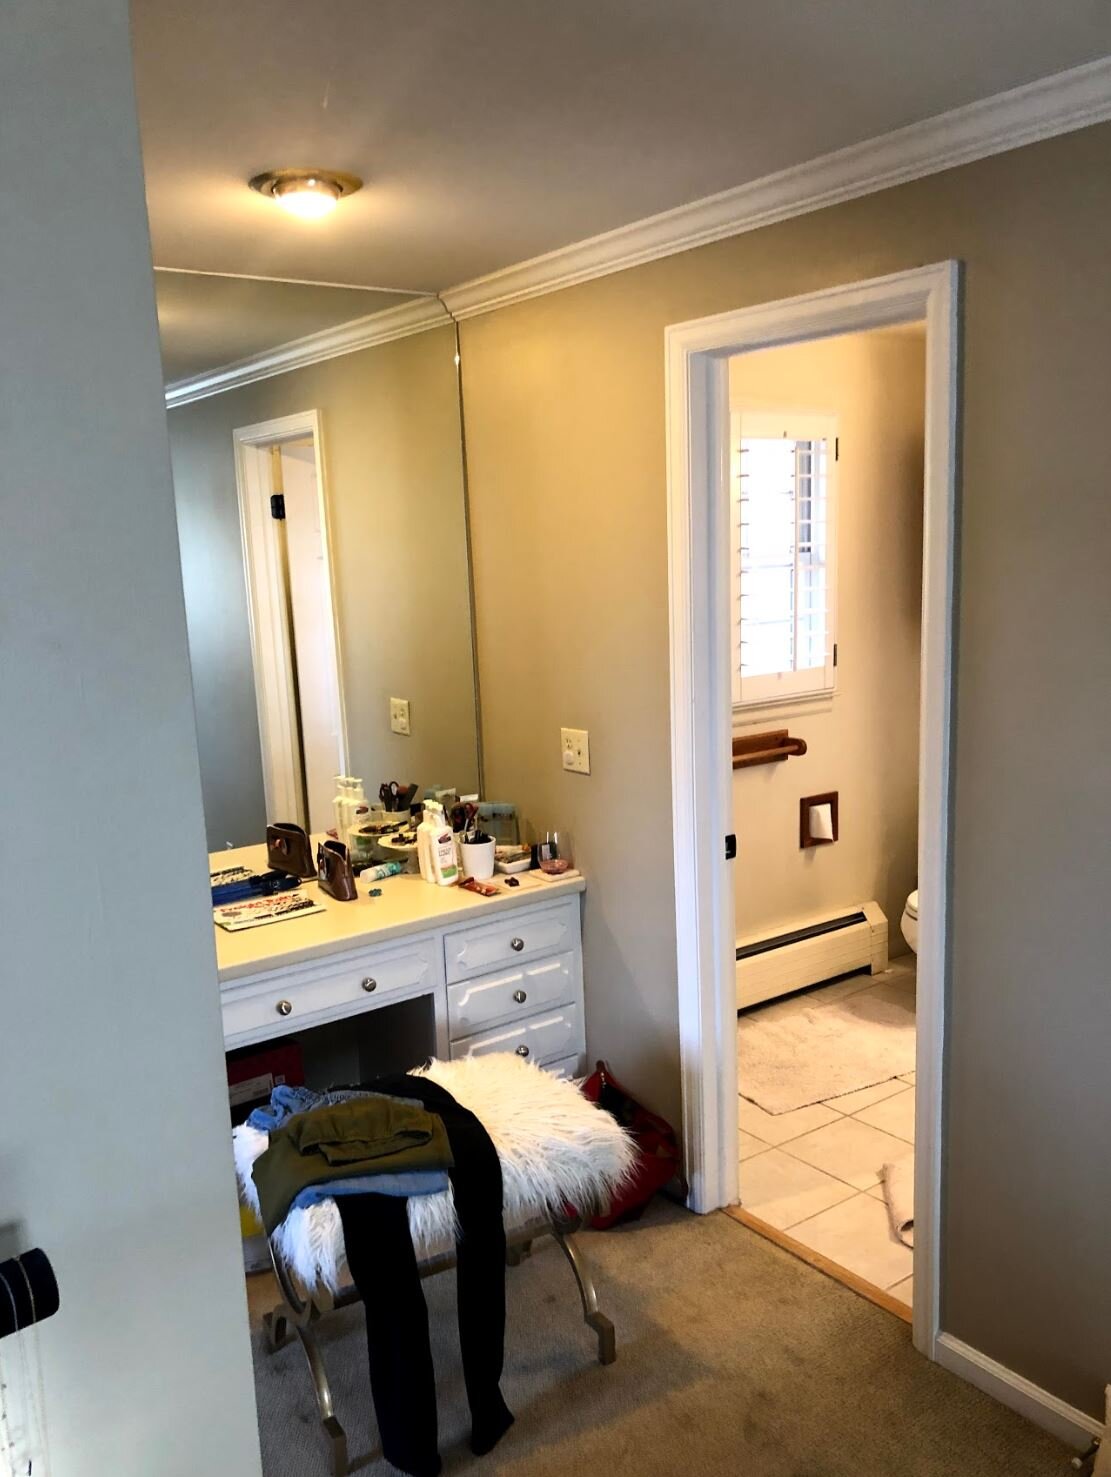
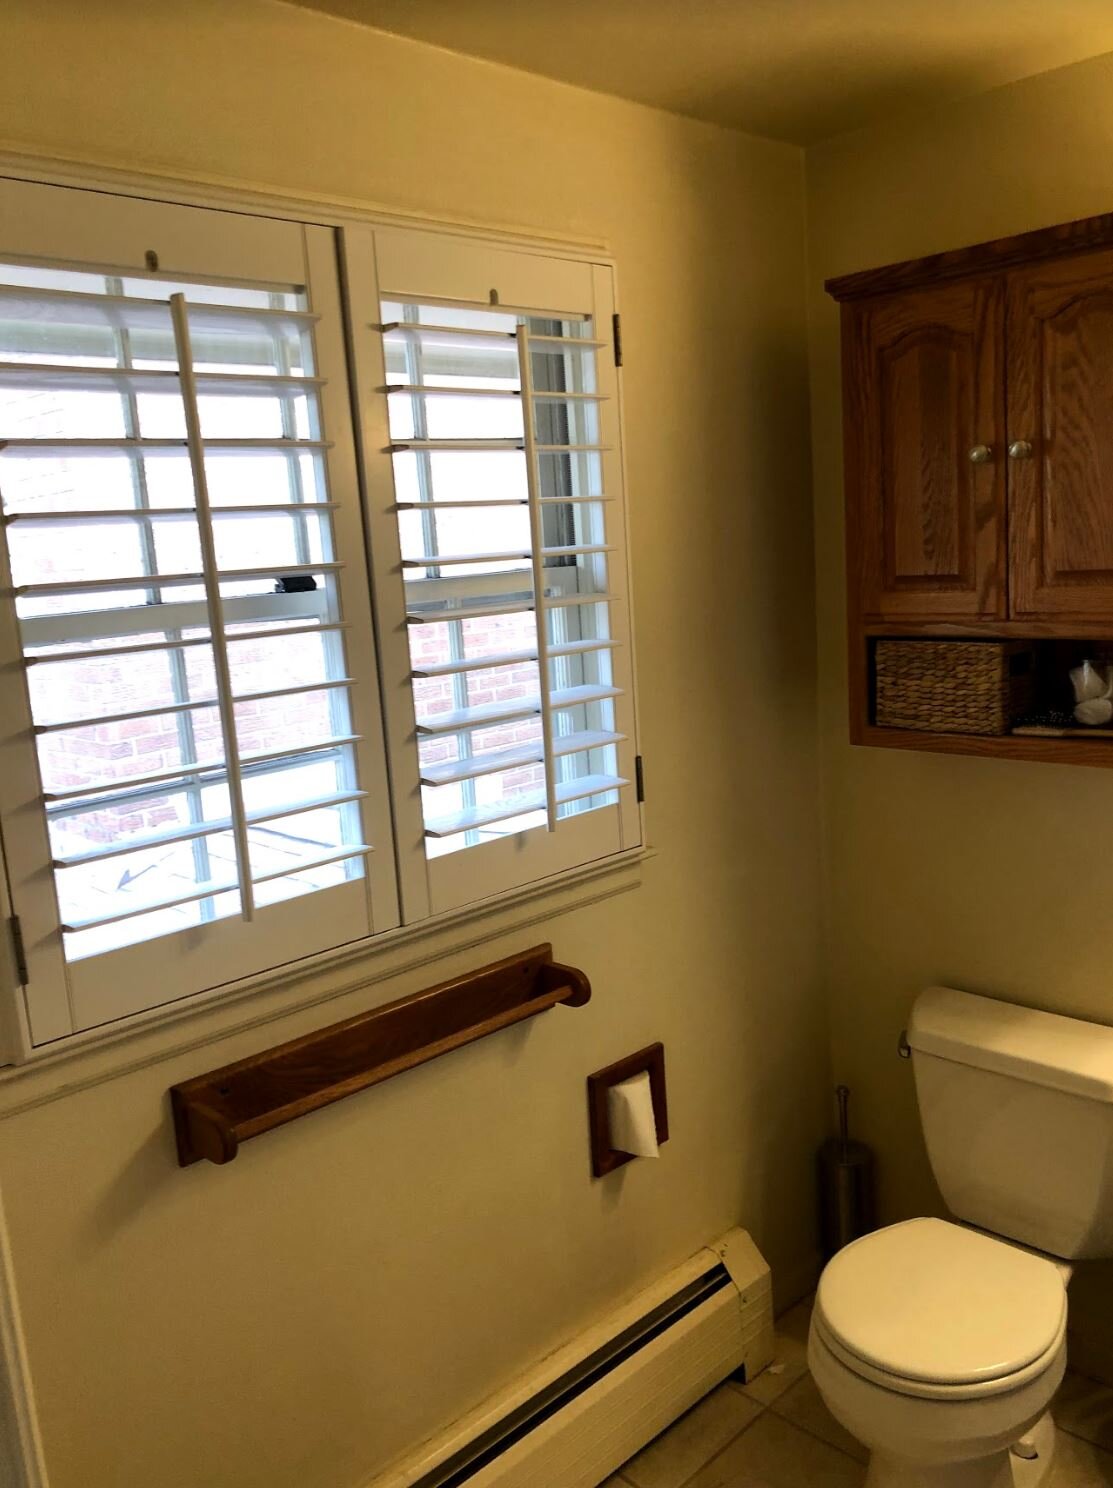
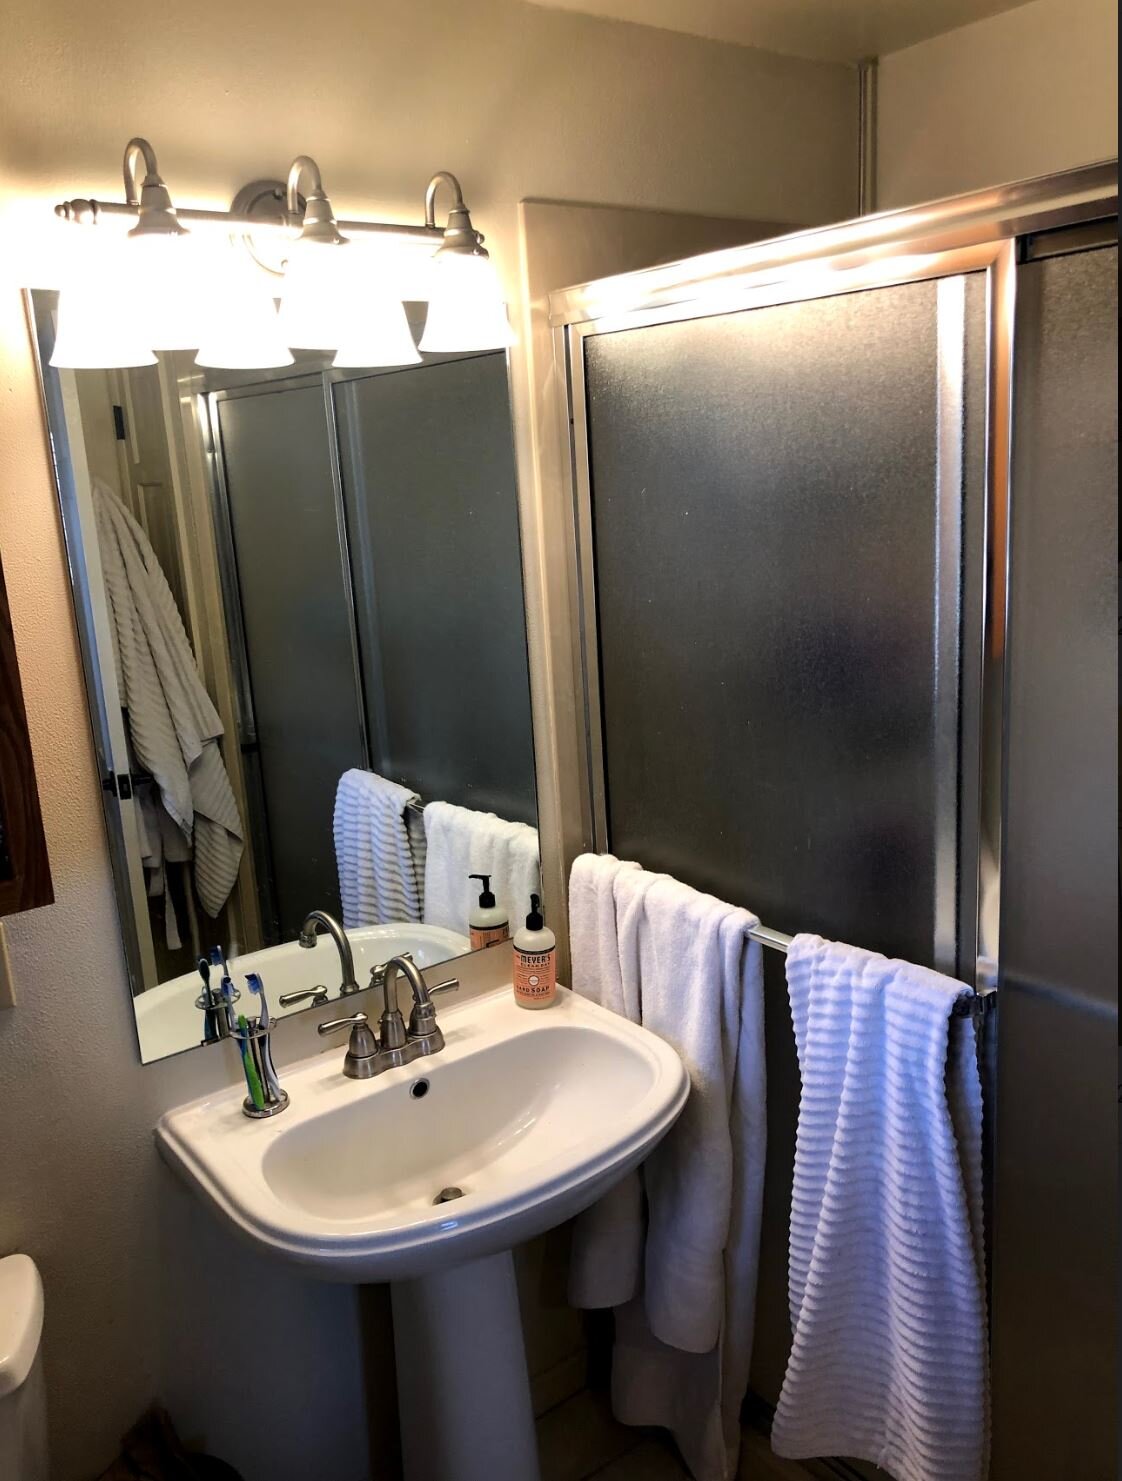
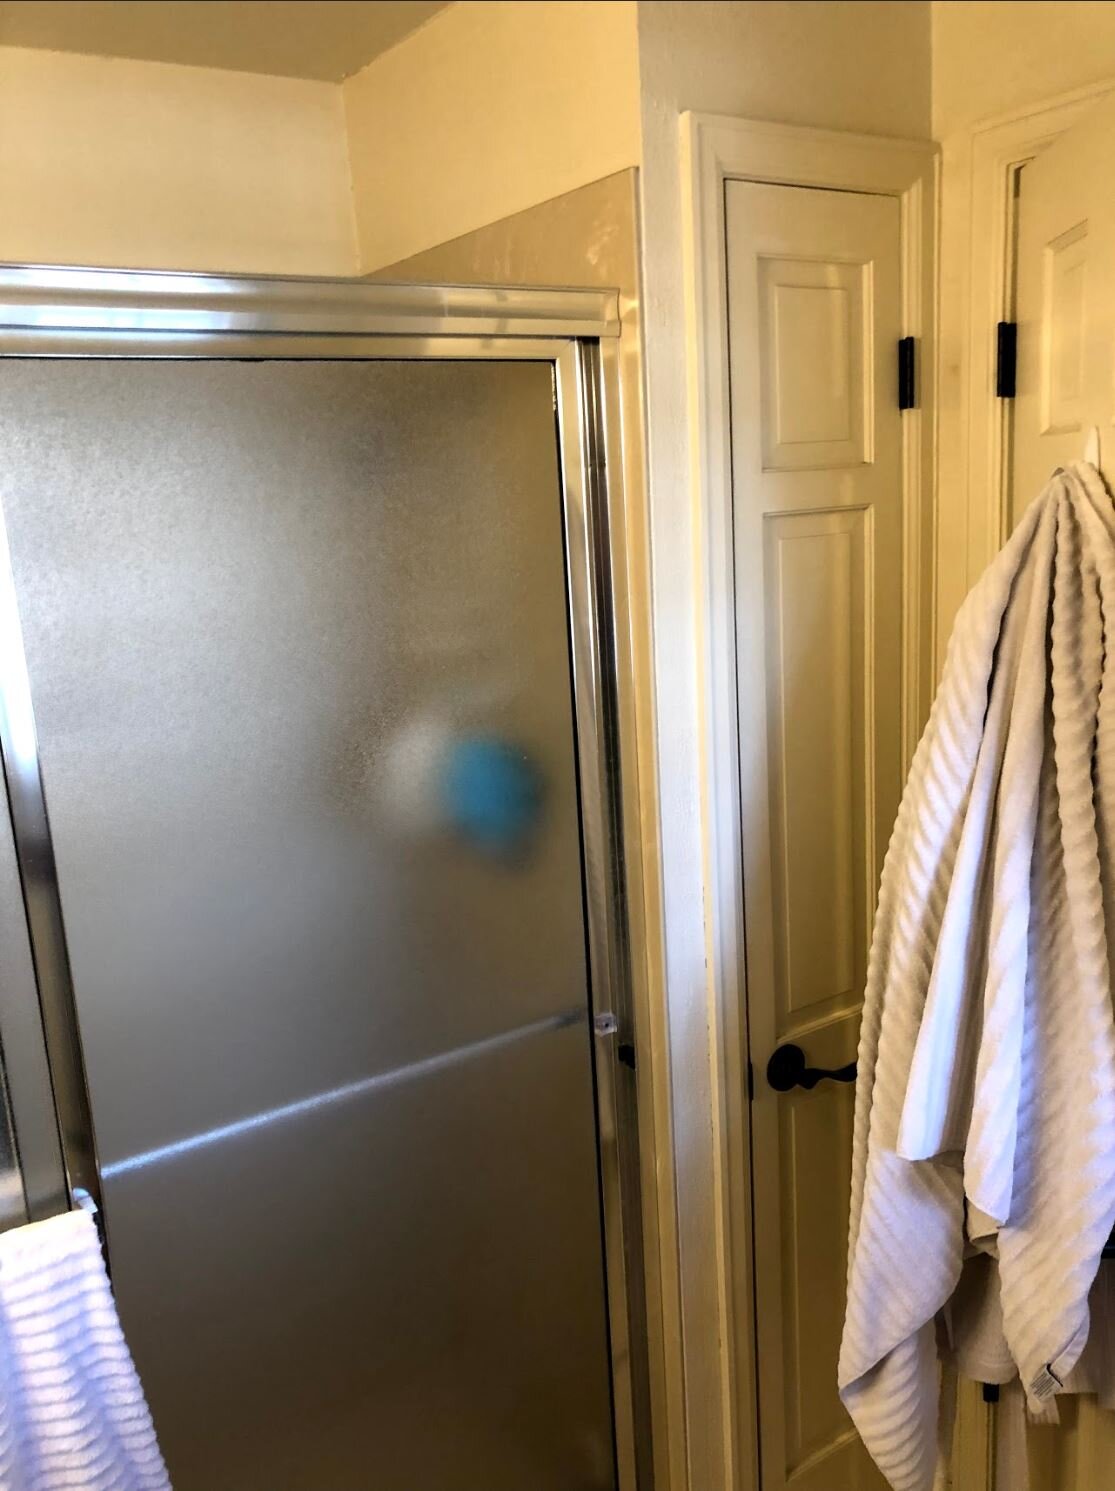
As you can see from the before pictures below, their bathroom was far from a dream. The small vanity area outside the bathroom was really just a cluttered eyesore visible from the master bedroom and the actual bathroom area was TINY with just a single vanity and a very cramped shower.
BEFORE PICS
Step 2: Project Scope
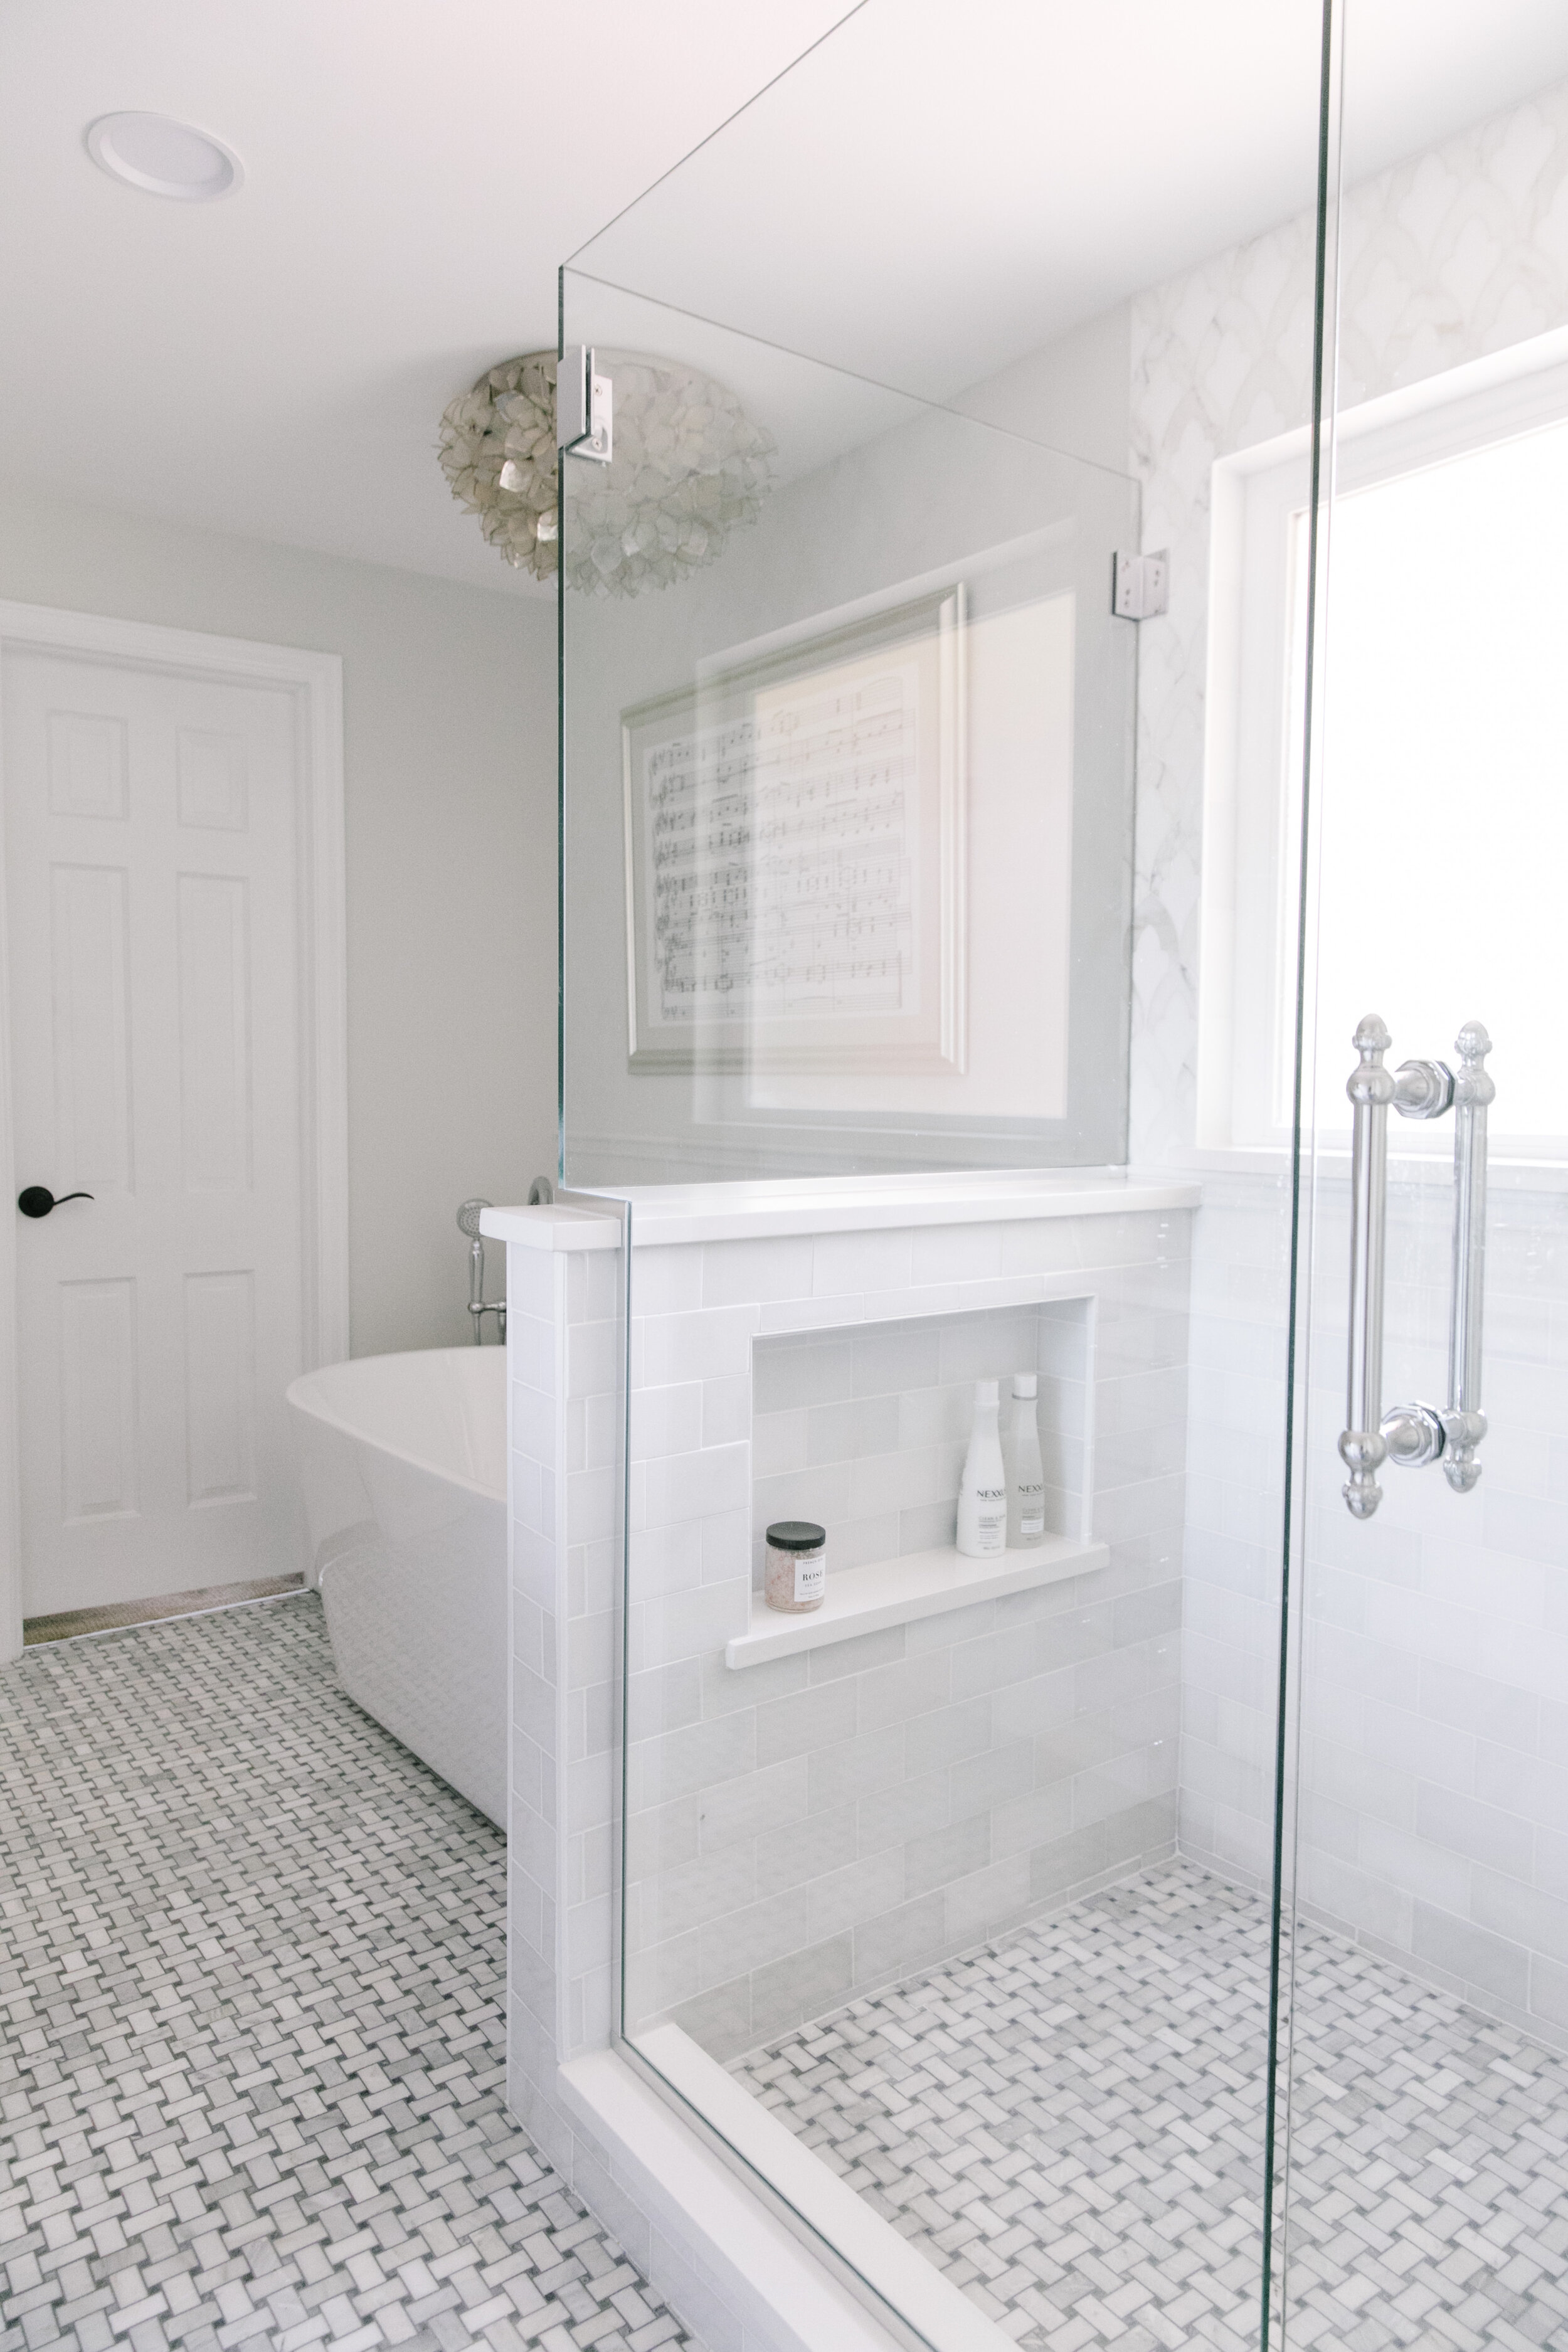
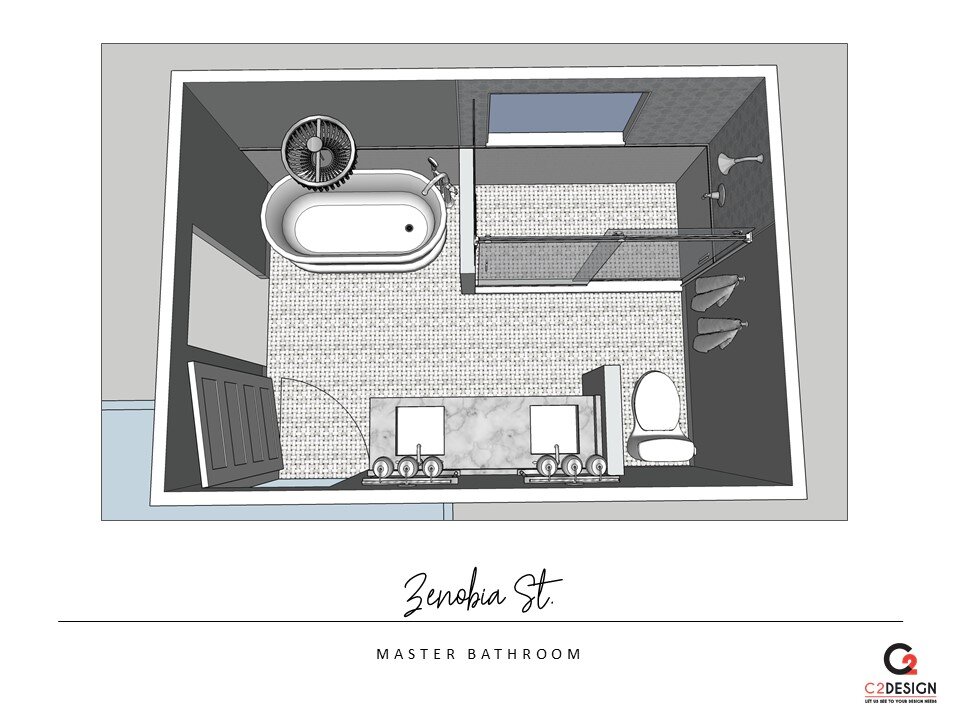
The scope involved a re-imagining of their master bathroom. The clients hoped to find a way to fit a 5 piece bath including a separate tub and shower, toilet, and two sinks.
Step 3: Concept Development
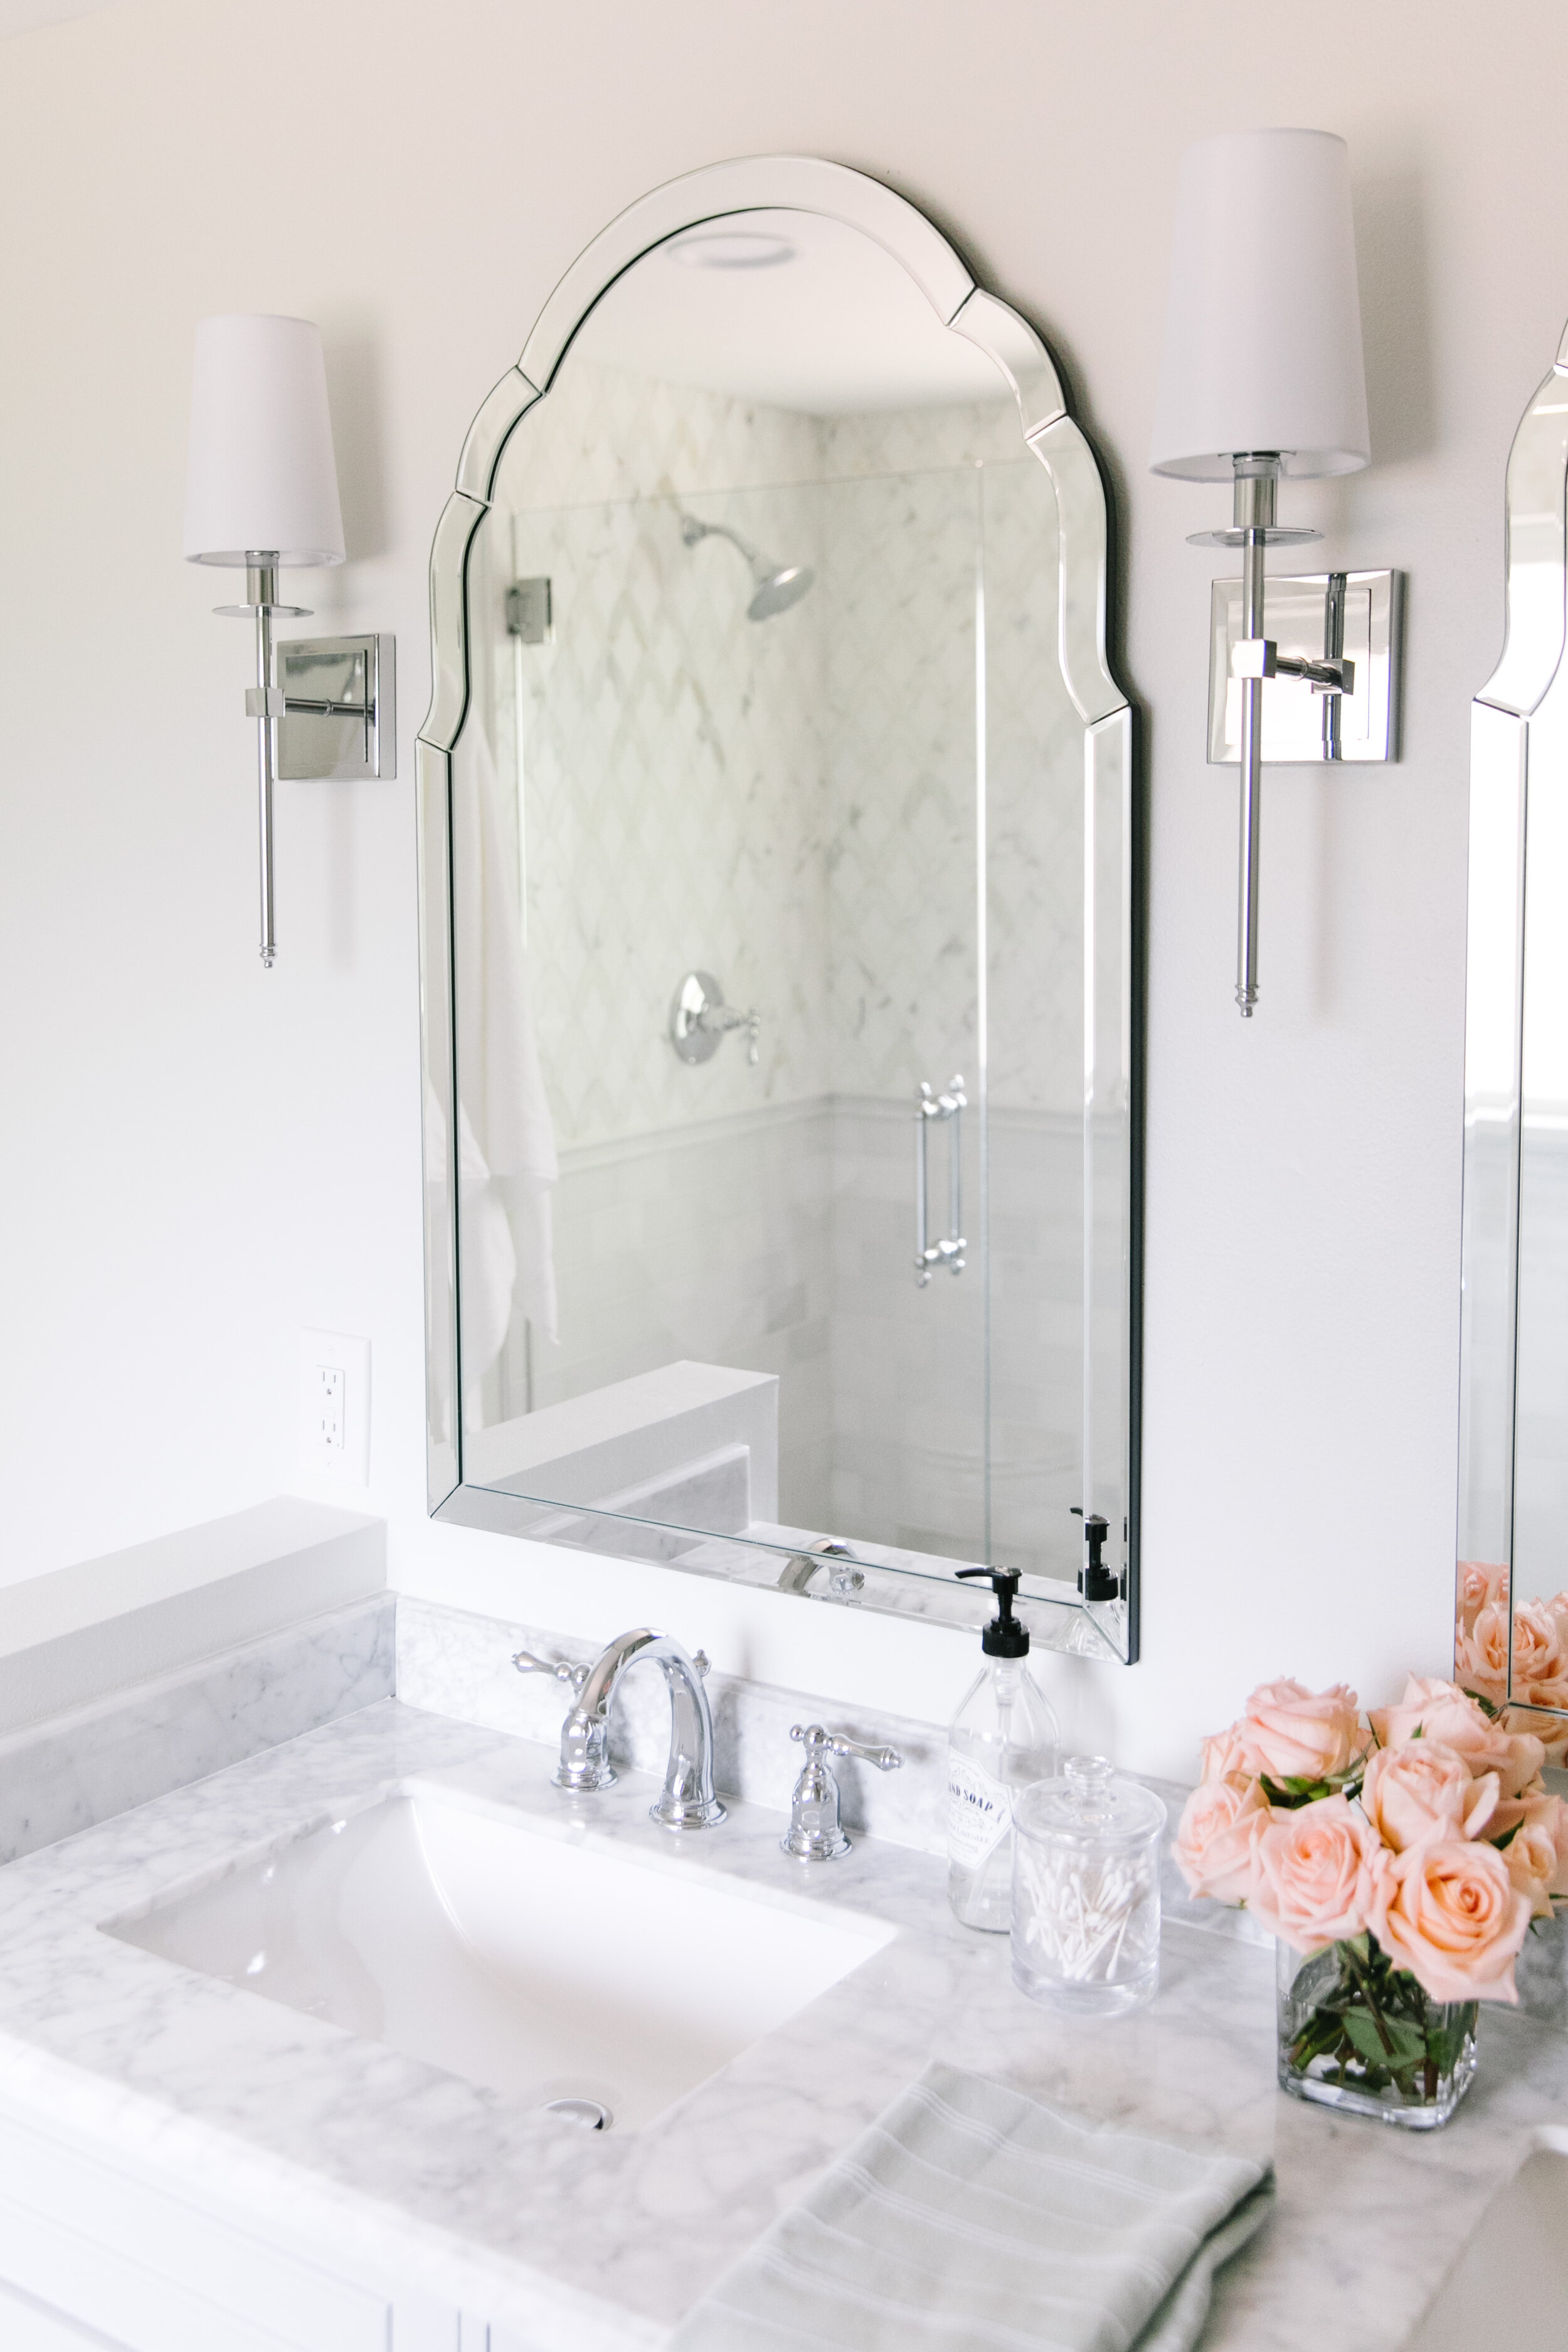
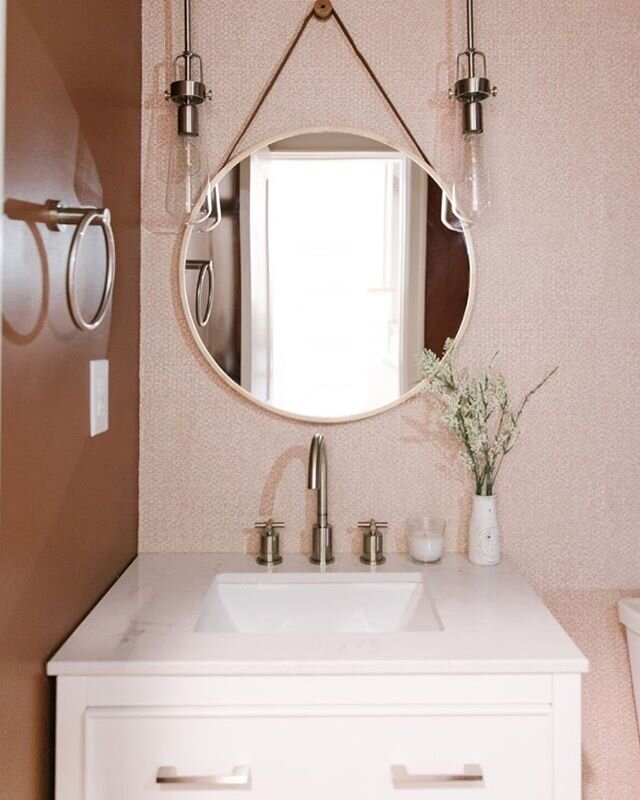
Our clients (okay let’s just be honest – the wife), pinned some bathrooms she loved and we pulled together this selection to use as inspiration. It was very clear that she wanted a classic bathroom with whites and grays and heavy on the marble… we were more than happy to oblige!
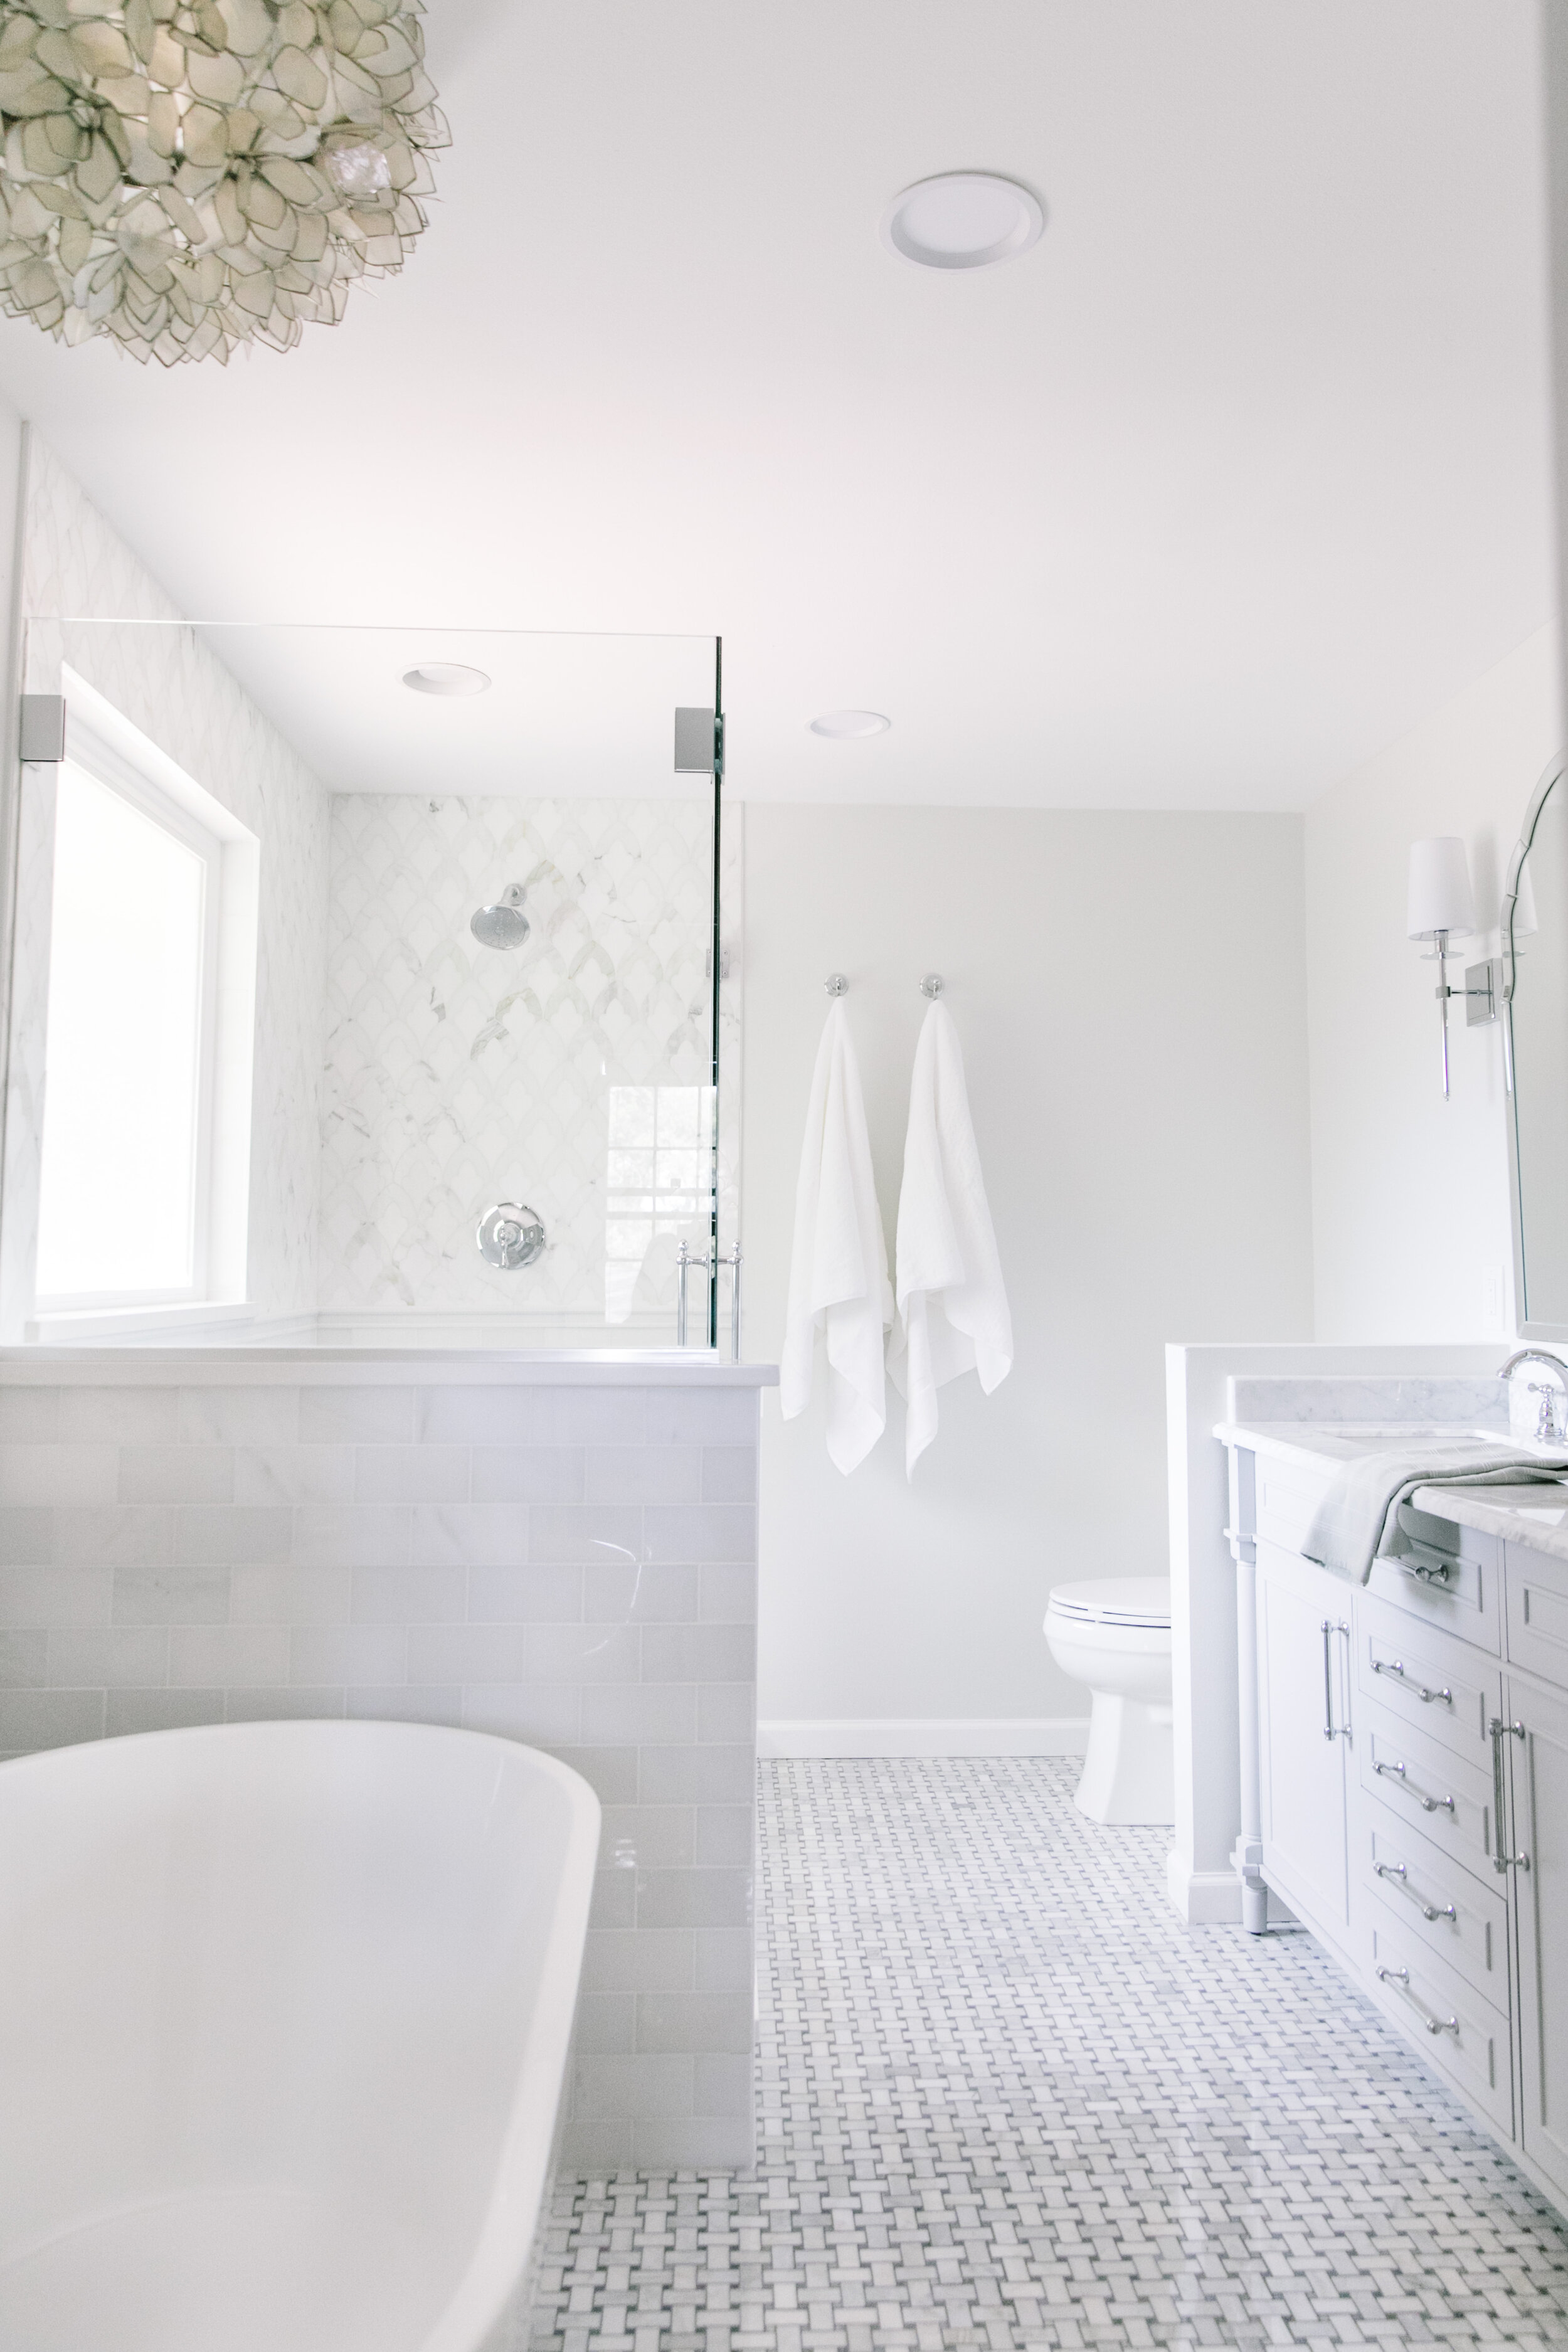
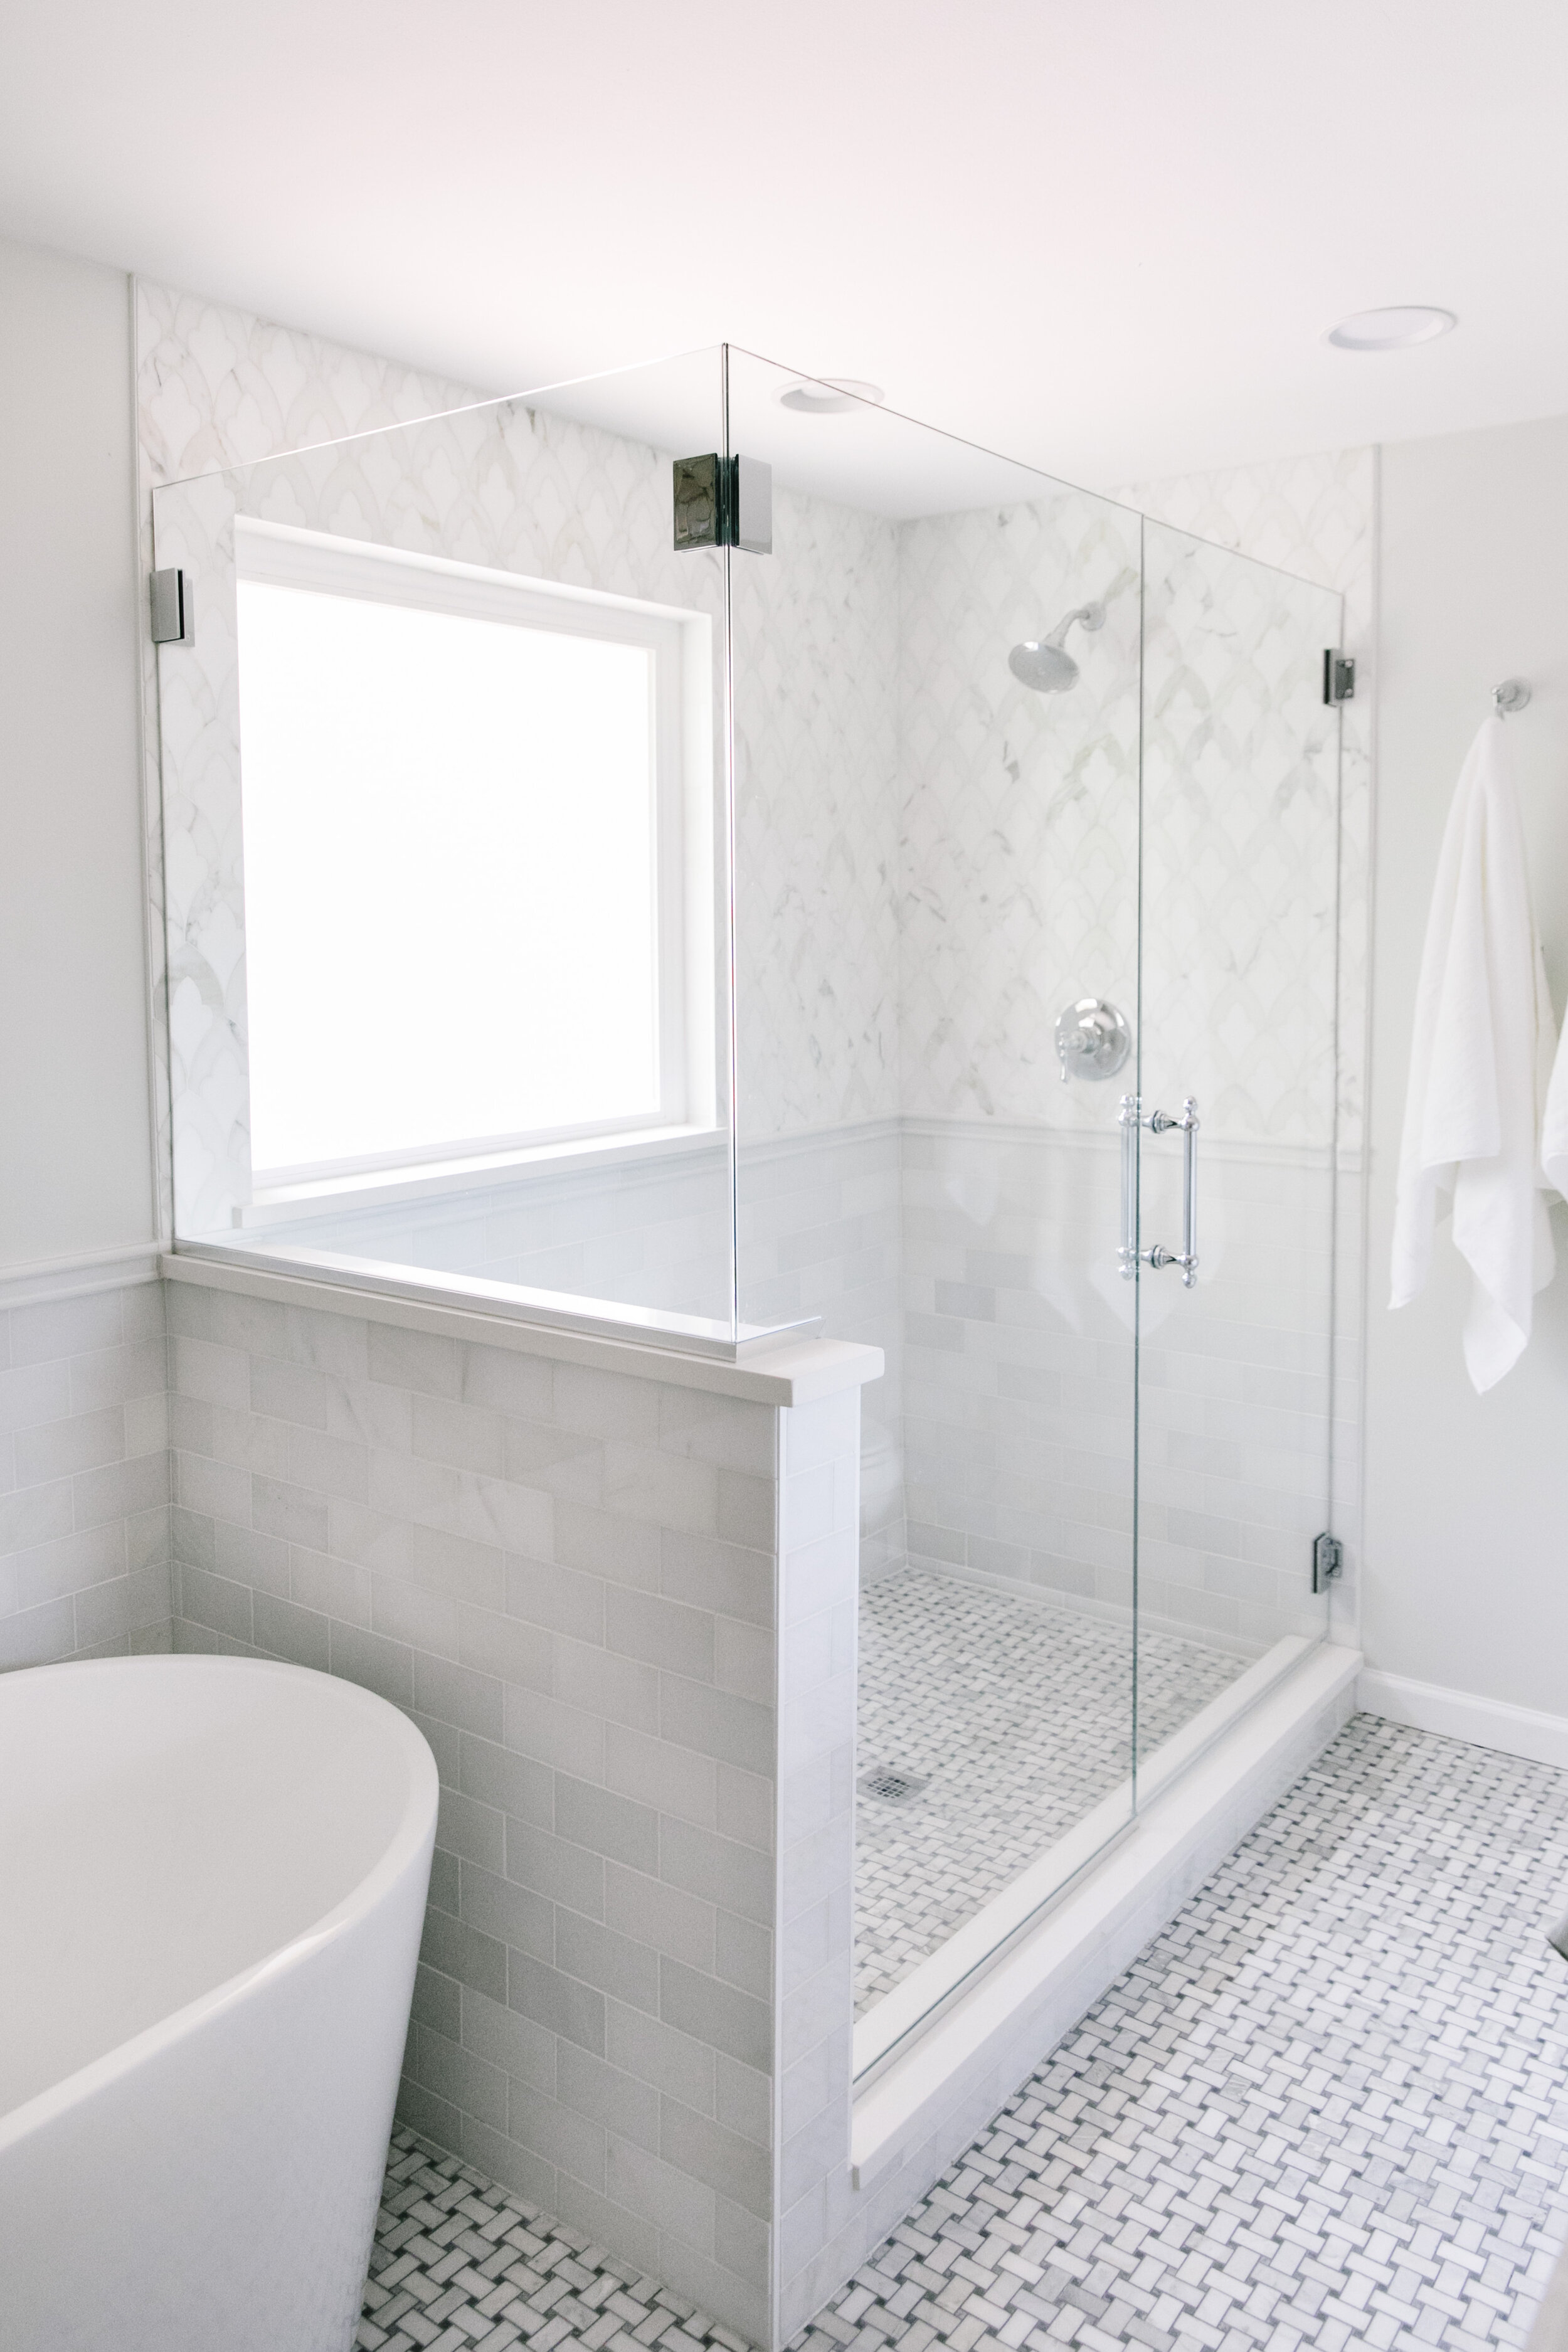
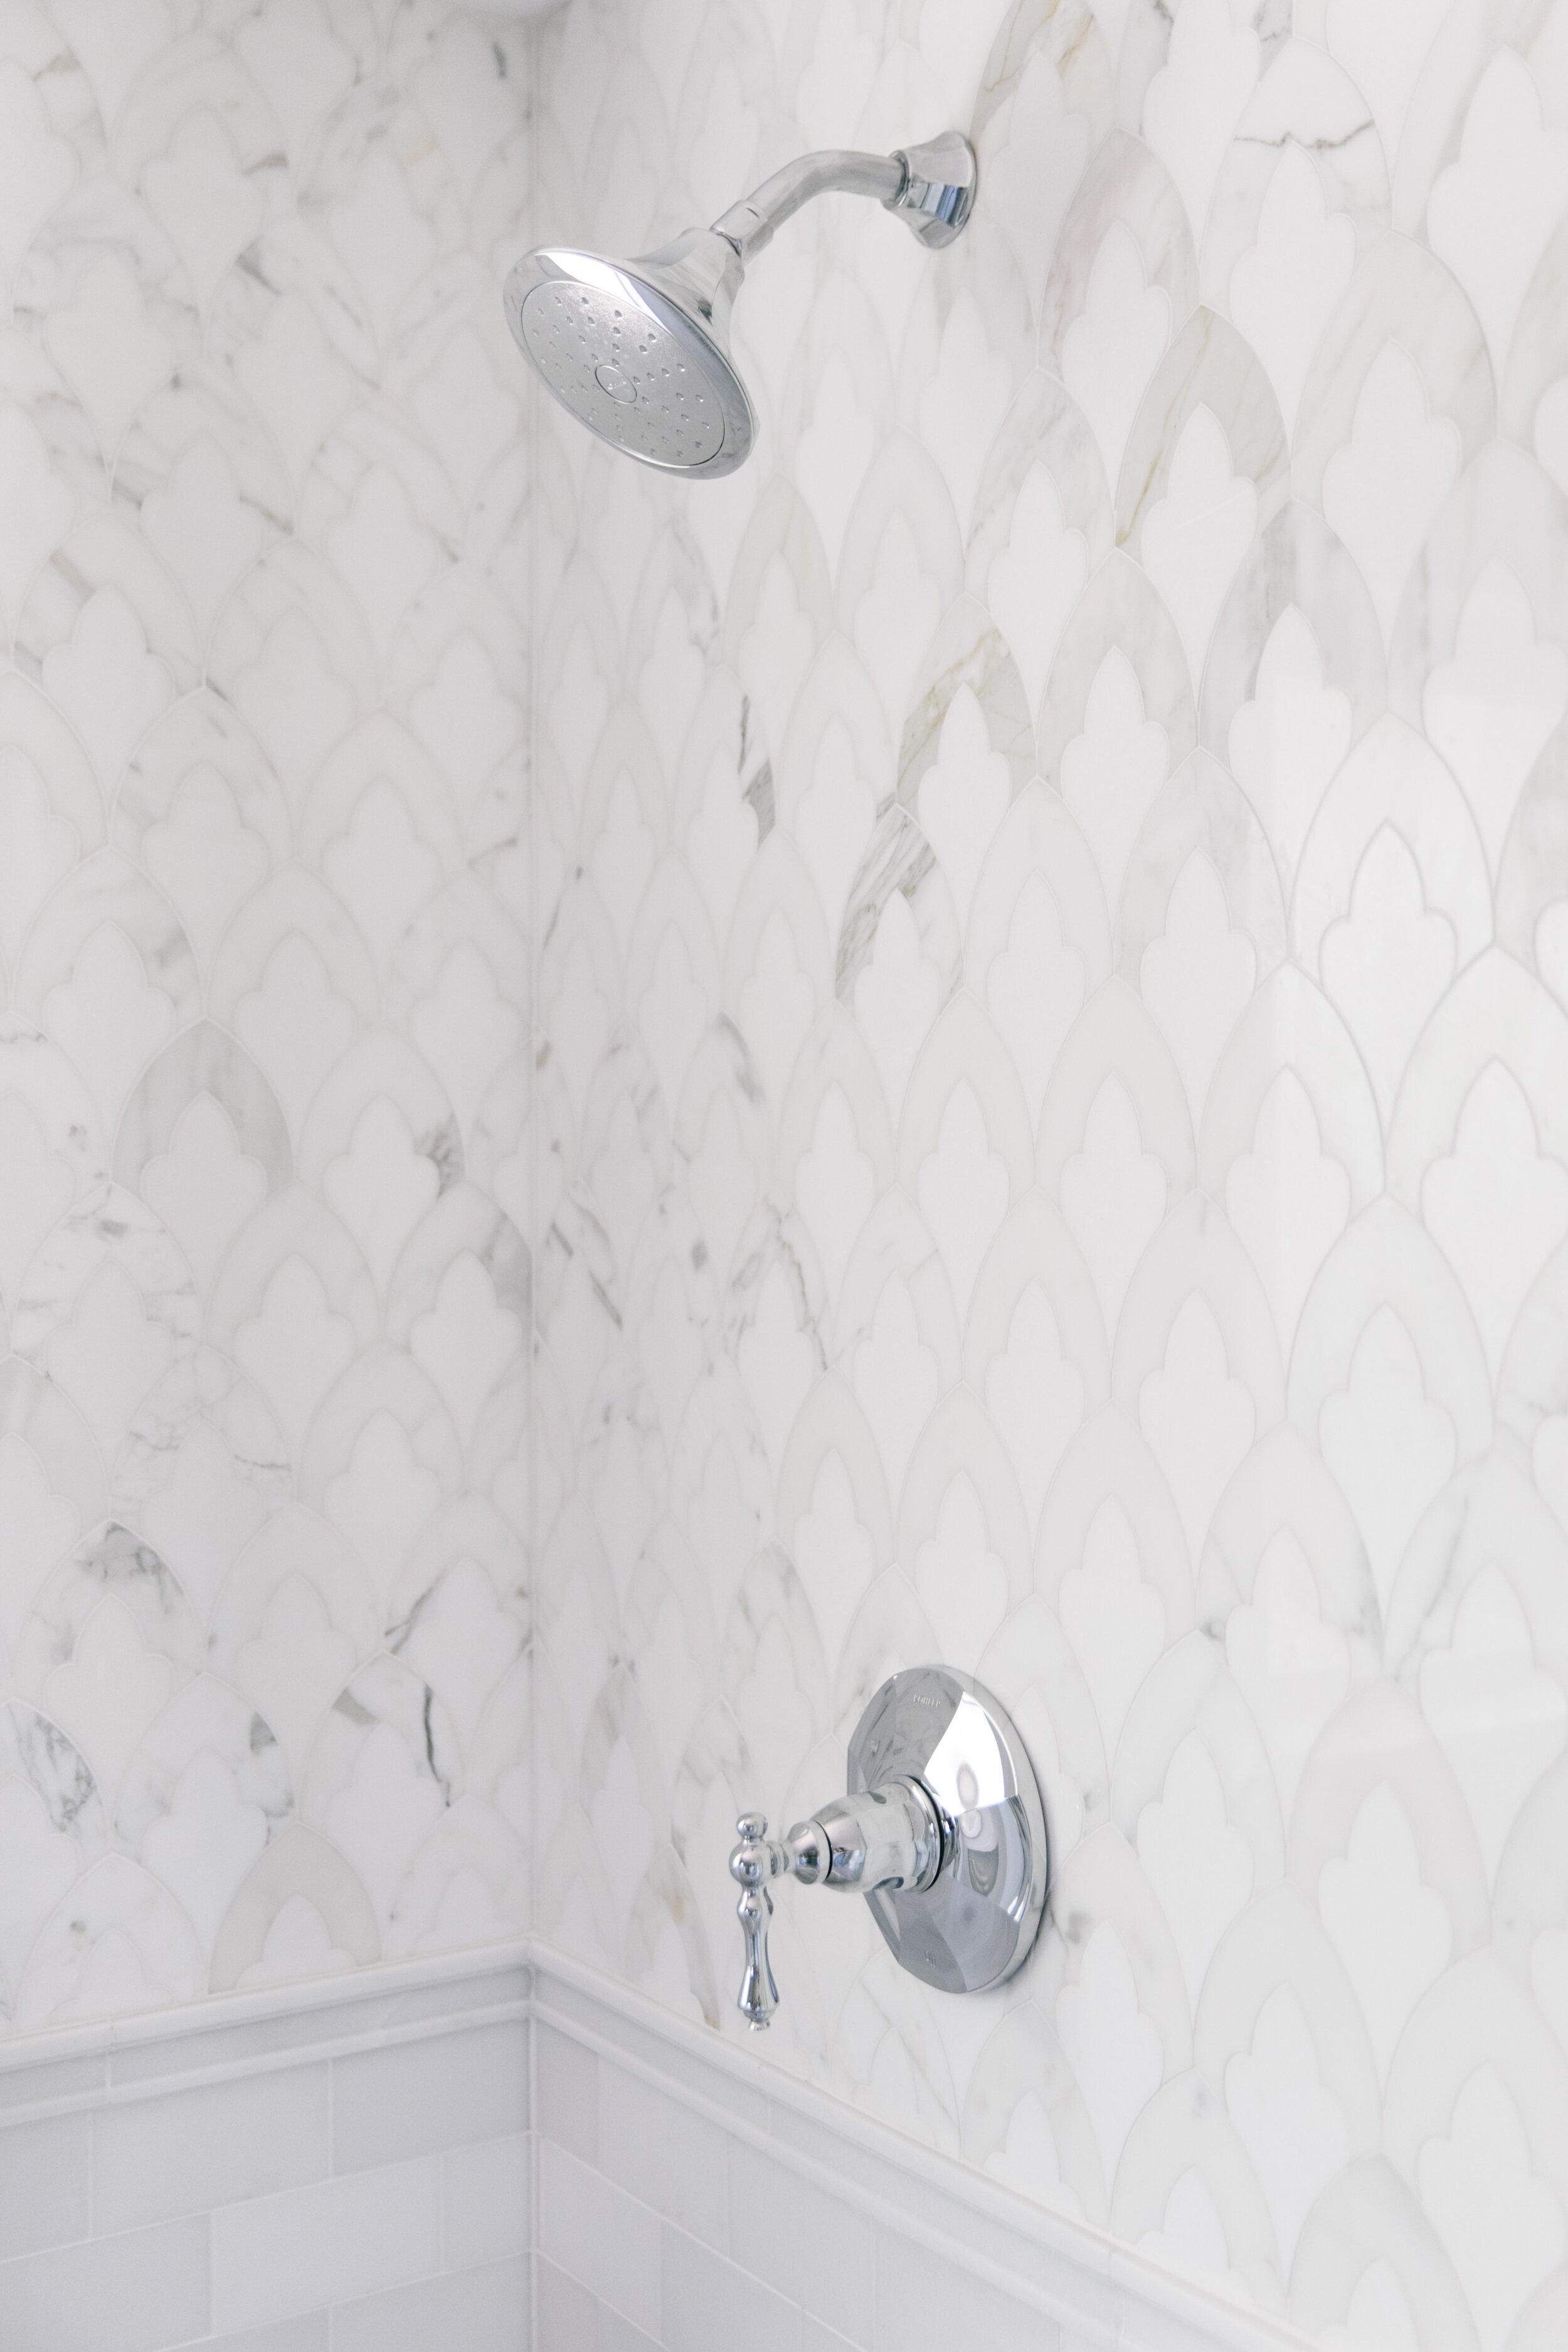
Fitting all the things our client wanted in such a small footprint was the primary challenge of this project, so we started with space planning. We worked in a program called SketchUp to make a scaled floor plan of the existing space and then began to play around with possibilities. It soon became clear that the only way to create the dream bathroom would be to take out the existing wall into the tiny bathroom and enclose the vanity area with a new wall, creating one large space. We also decided that we wanted to do a marble wainscot around the perimeter of the room to give it a classic feel and then carry it through the shower with a patterned tile above to create the look of wallpaper.


Step 4: Initial Design Presentation
The initial design presentation serves as a way to get client feedback and make sure we are heading in the right direction. We present layout ideas and put together concept boards that show our initial selections. We also bring as many real samples as possible to help our clients better envision the space. Here are the finishes we presented along with a live walk-through of our 3D model:


Step 5: Final Design Presentation
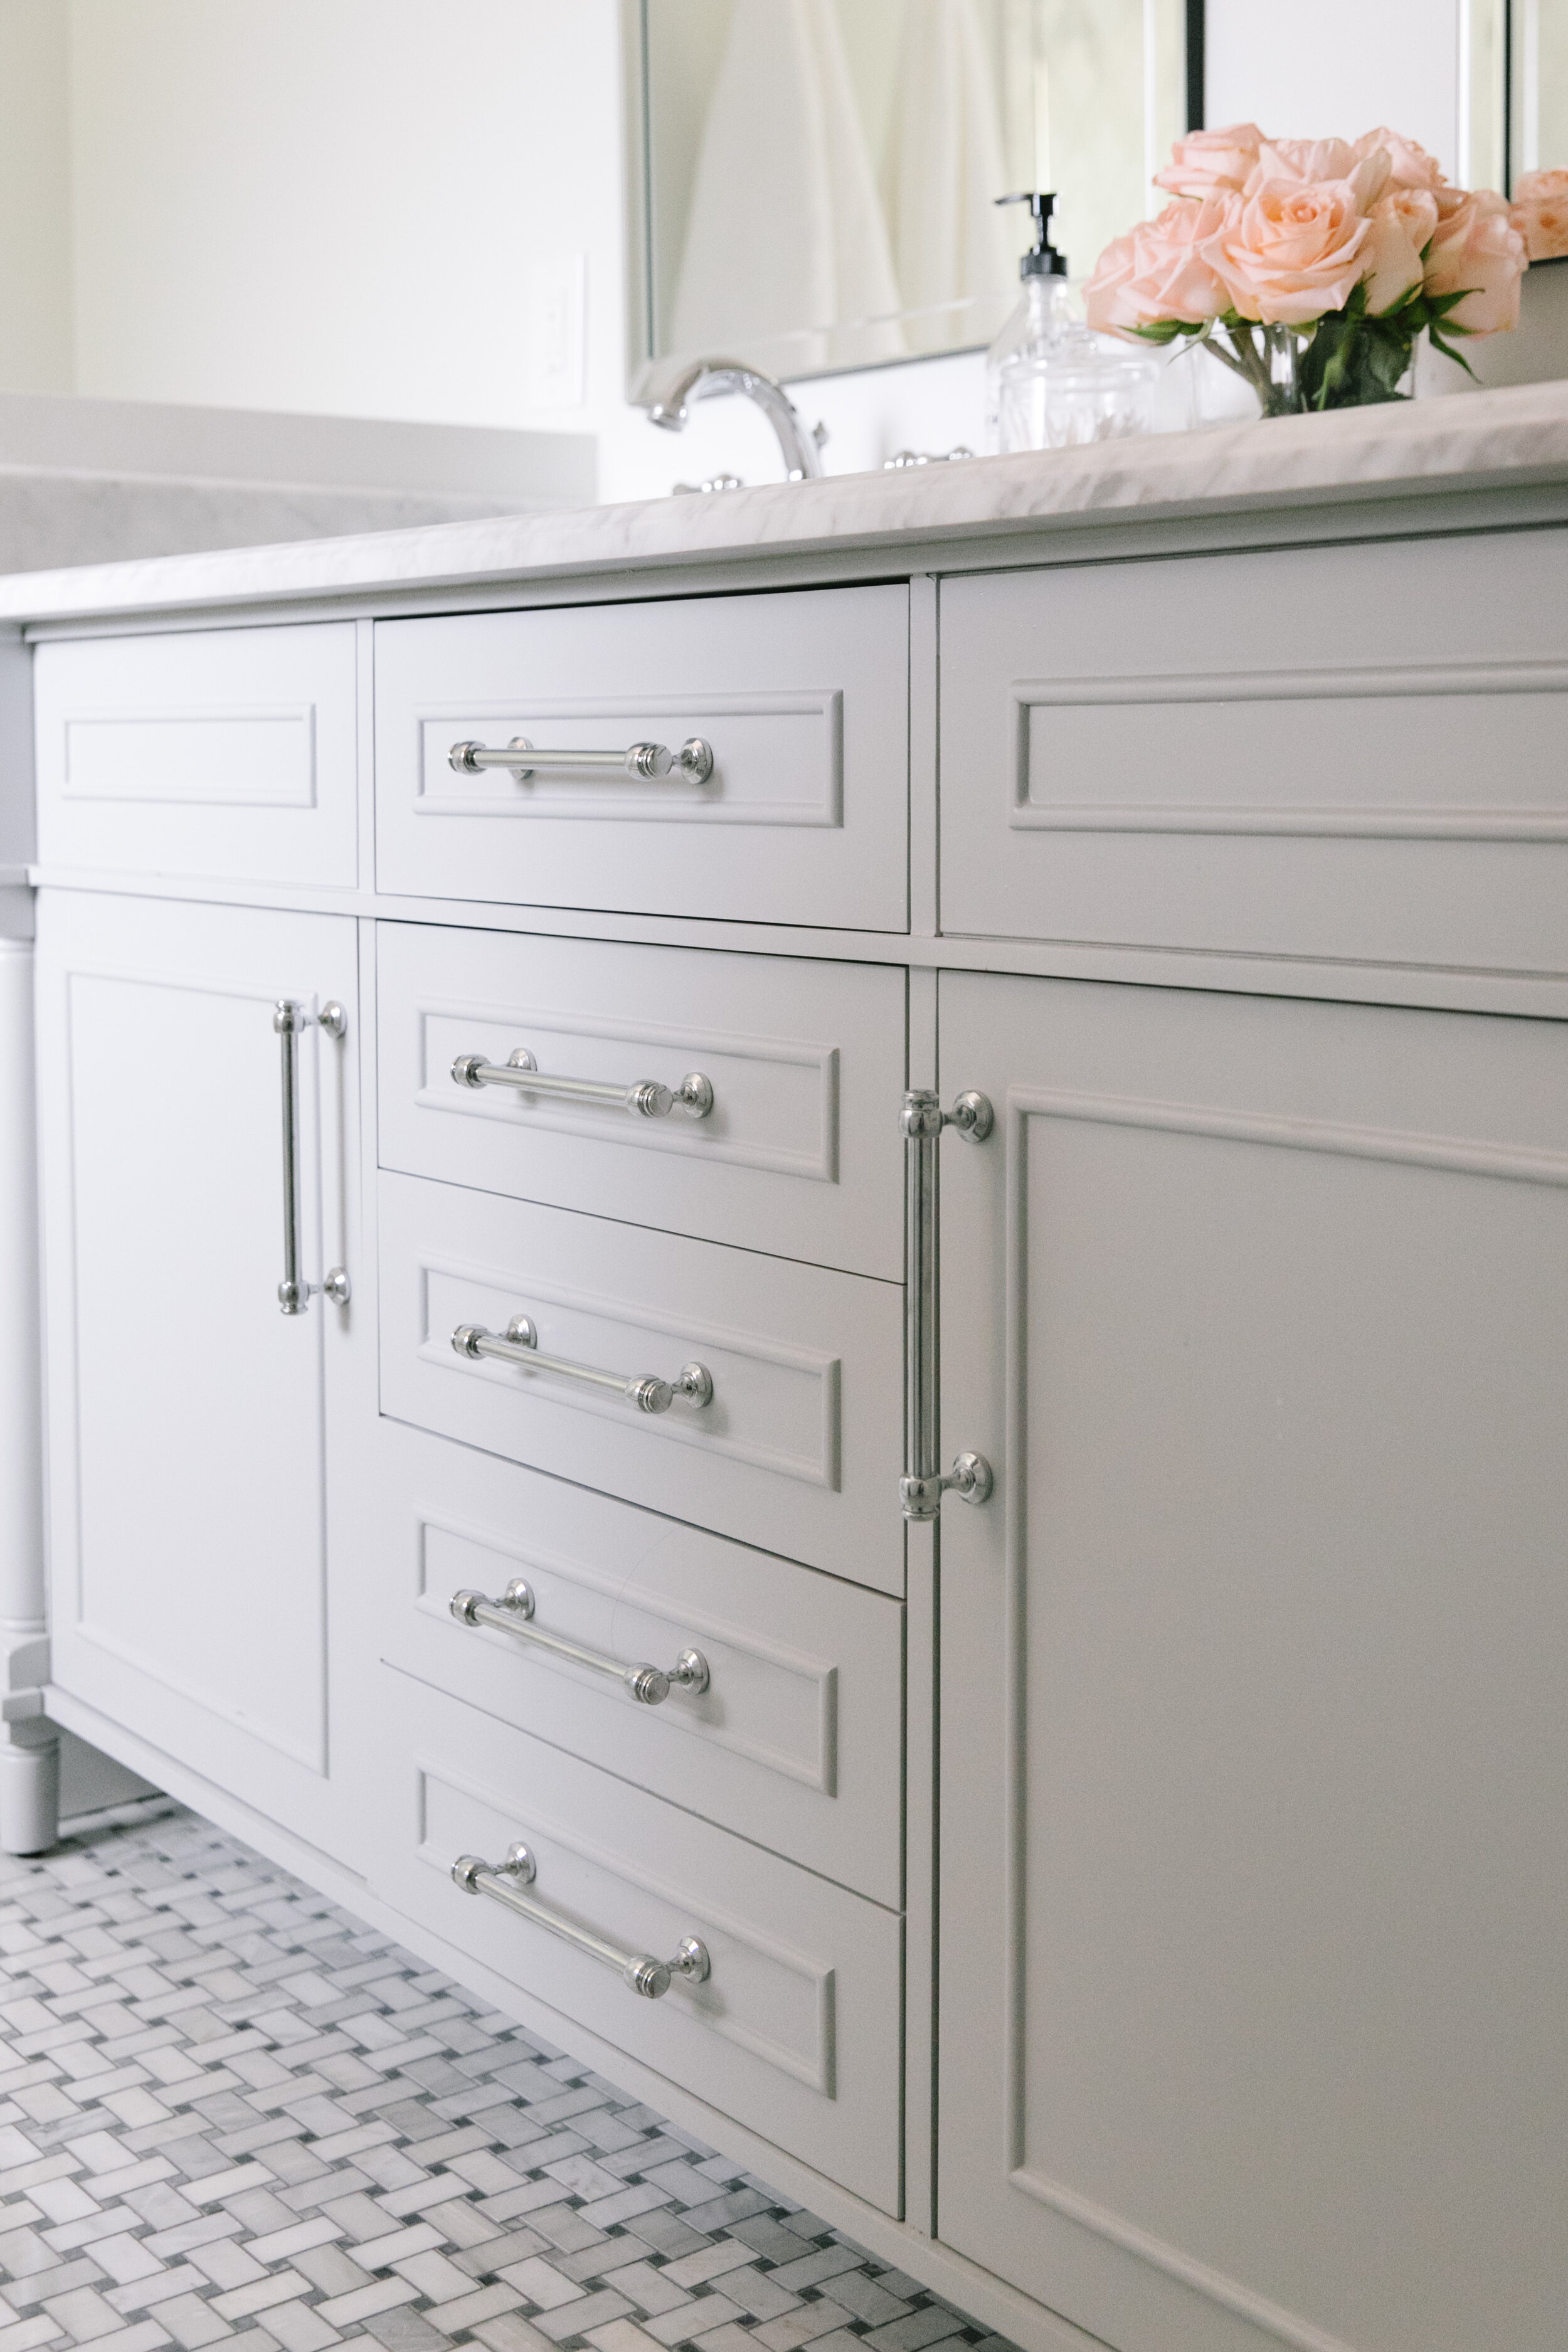
Typically clients love the majority of our selections and plans but want to make a few changes. In this case, she was thrilled with the layout and the overall design direction but wasn’t completely sold on the tile we chose as our “wallpaper tile” as she thought it may be too busy for her taste. She also wanted to see a few alternate options for the bathtub, chandelier, and mirror/light combos. We happily took her feedback and sent over some options for those items. We found a GORGEOUS marble fleur de lis mosaic tile that had a more subtle pattern that she loved. We also sourced a gray standalone vanity with a Carrara marble top that kept the palette more neutral than the original smokey blue custom vanity we presented. In the end, these were the final finishes we decided on:
Step 6: Site Measure and Planning with Trades
For this project, we got bids from two contractors we have worked with before. One was a larger company and the other is a one-man shop. When only one person is working on your remodel, you can rest-assured that it will take longer. The trade off in this case was that it was going to be much less expensive and that was a trade-off our clients were willing to make. We provided him with a set of construction documents to work from and he got started:


Step 7: Construction and Project Management

As designers, our job in the construction process is to make sure that the work is carried out in accordance with the design plan, make decisions as issues or questions come up, and advocate on behalf of the client when it comes to quality workmanship. For this project, we were checking in at the job site about every other day to see how work was progressing. As soon as the new bathroom footprint was in, the change was hugely noticeable!
Of course, every project has its surprises and decisions that need to happen on the fly. In this case, once the framing was done, we decided to shorten the length of the shower so that the tub didn’t interfere with the door to the closet as much and to shorten the pony wall concealing the toilet because it was too much of a visual barrier in such a small space. Our contractor worked with us to make these changes and the results were well worth it!
Step 8: Installation
This step is generally more associated with rooms that require furnishings but for this bathroom remodel, it can be equated to the final walk through. At this meeting with the contractor, we look over everything with a fine-tooth comb and create a punch list of final items that need to be completed before the project can be considered finished. Here, that involved paint and drywall touch ups, filling a few grout lines, straightening vanity doors, etc.
Step 9: Project Reveal
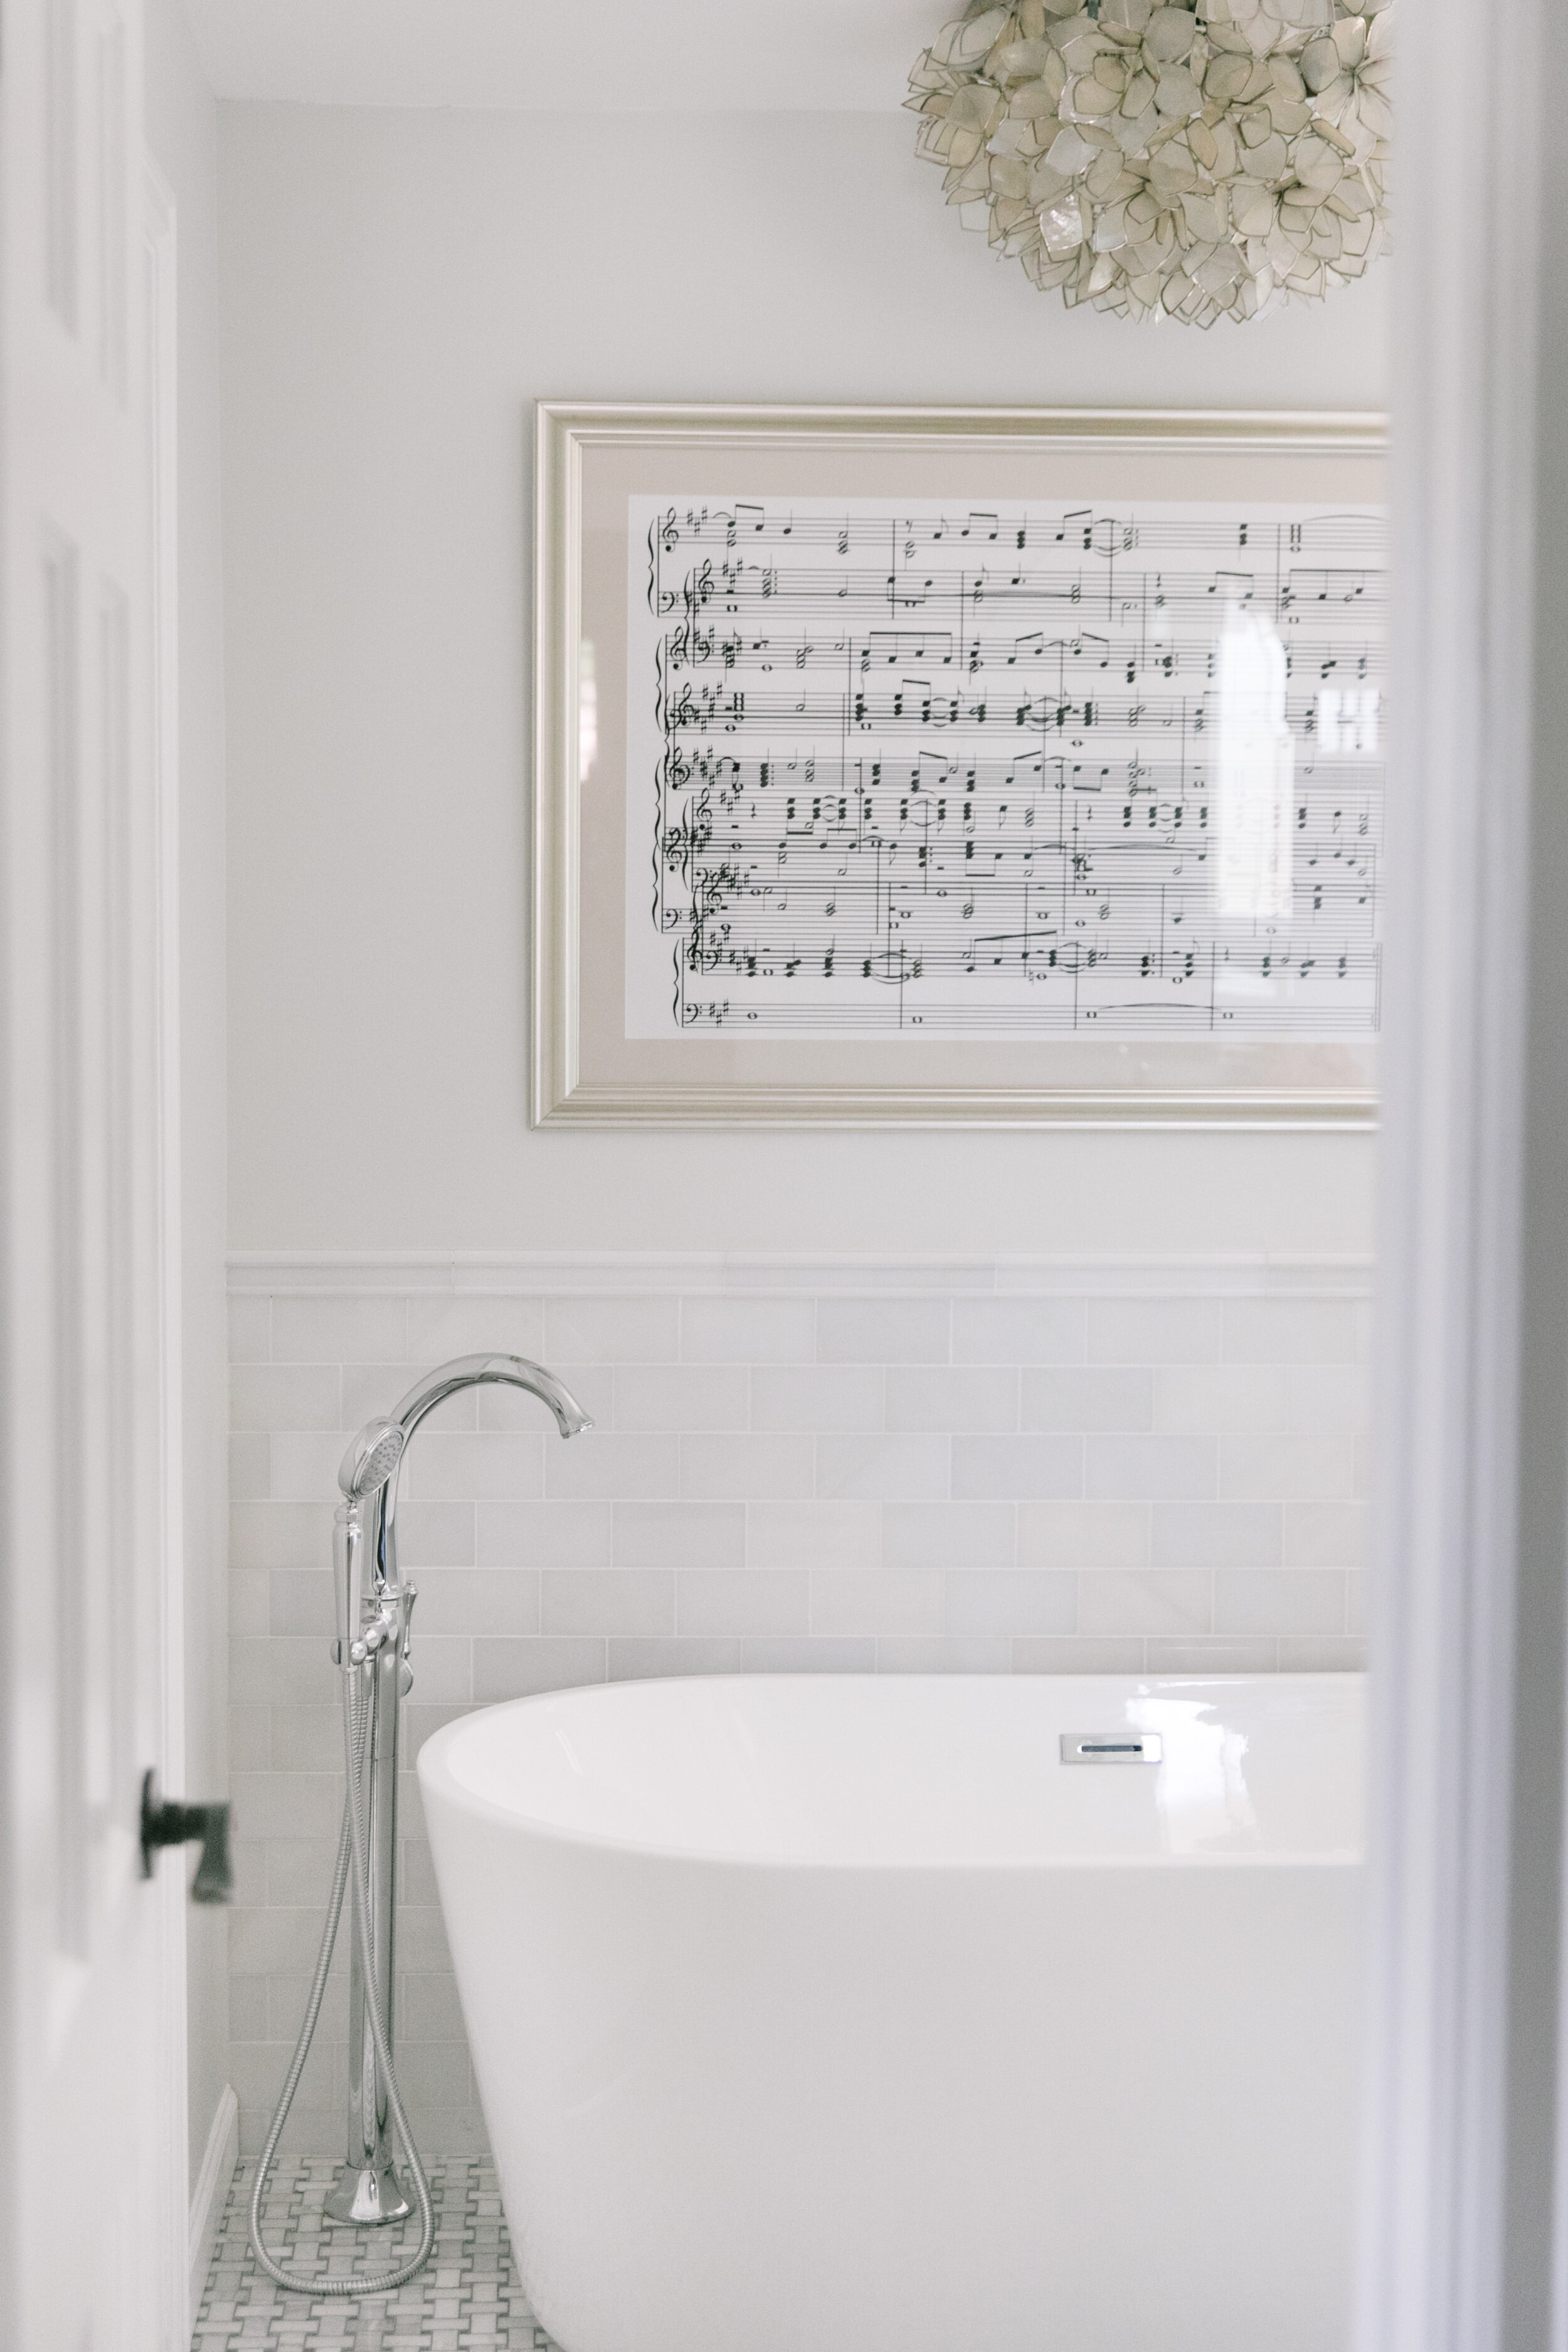
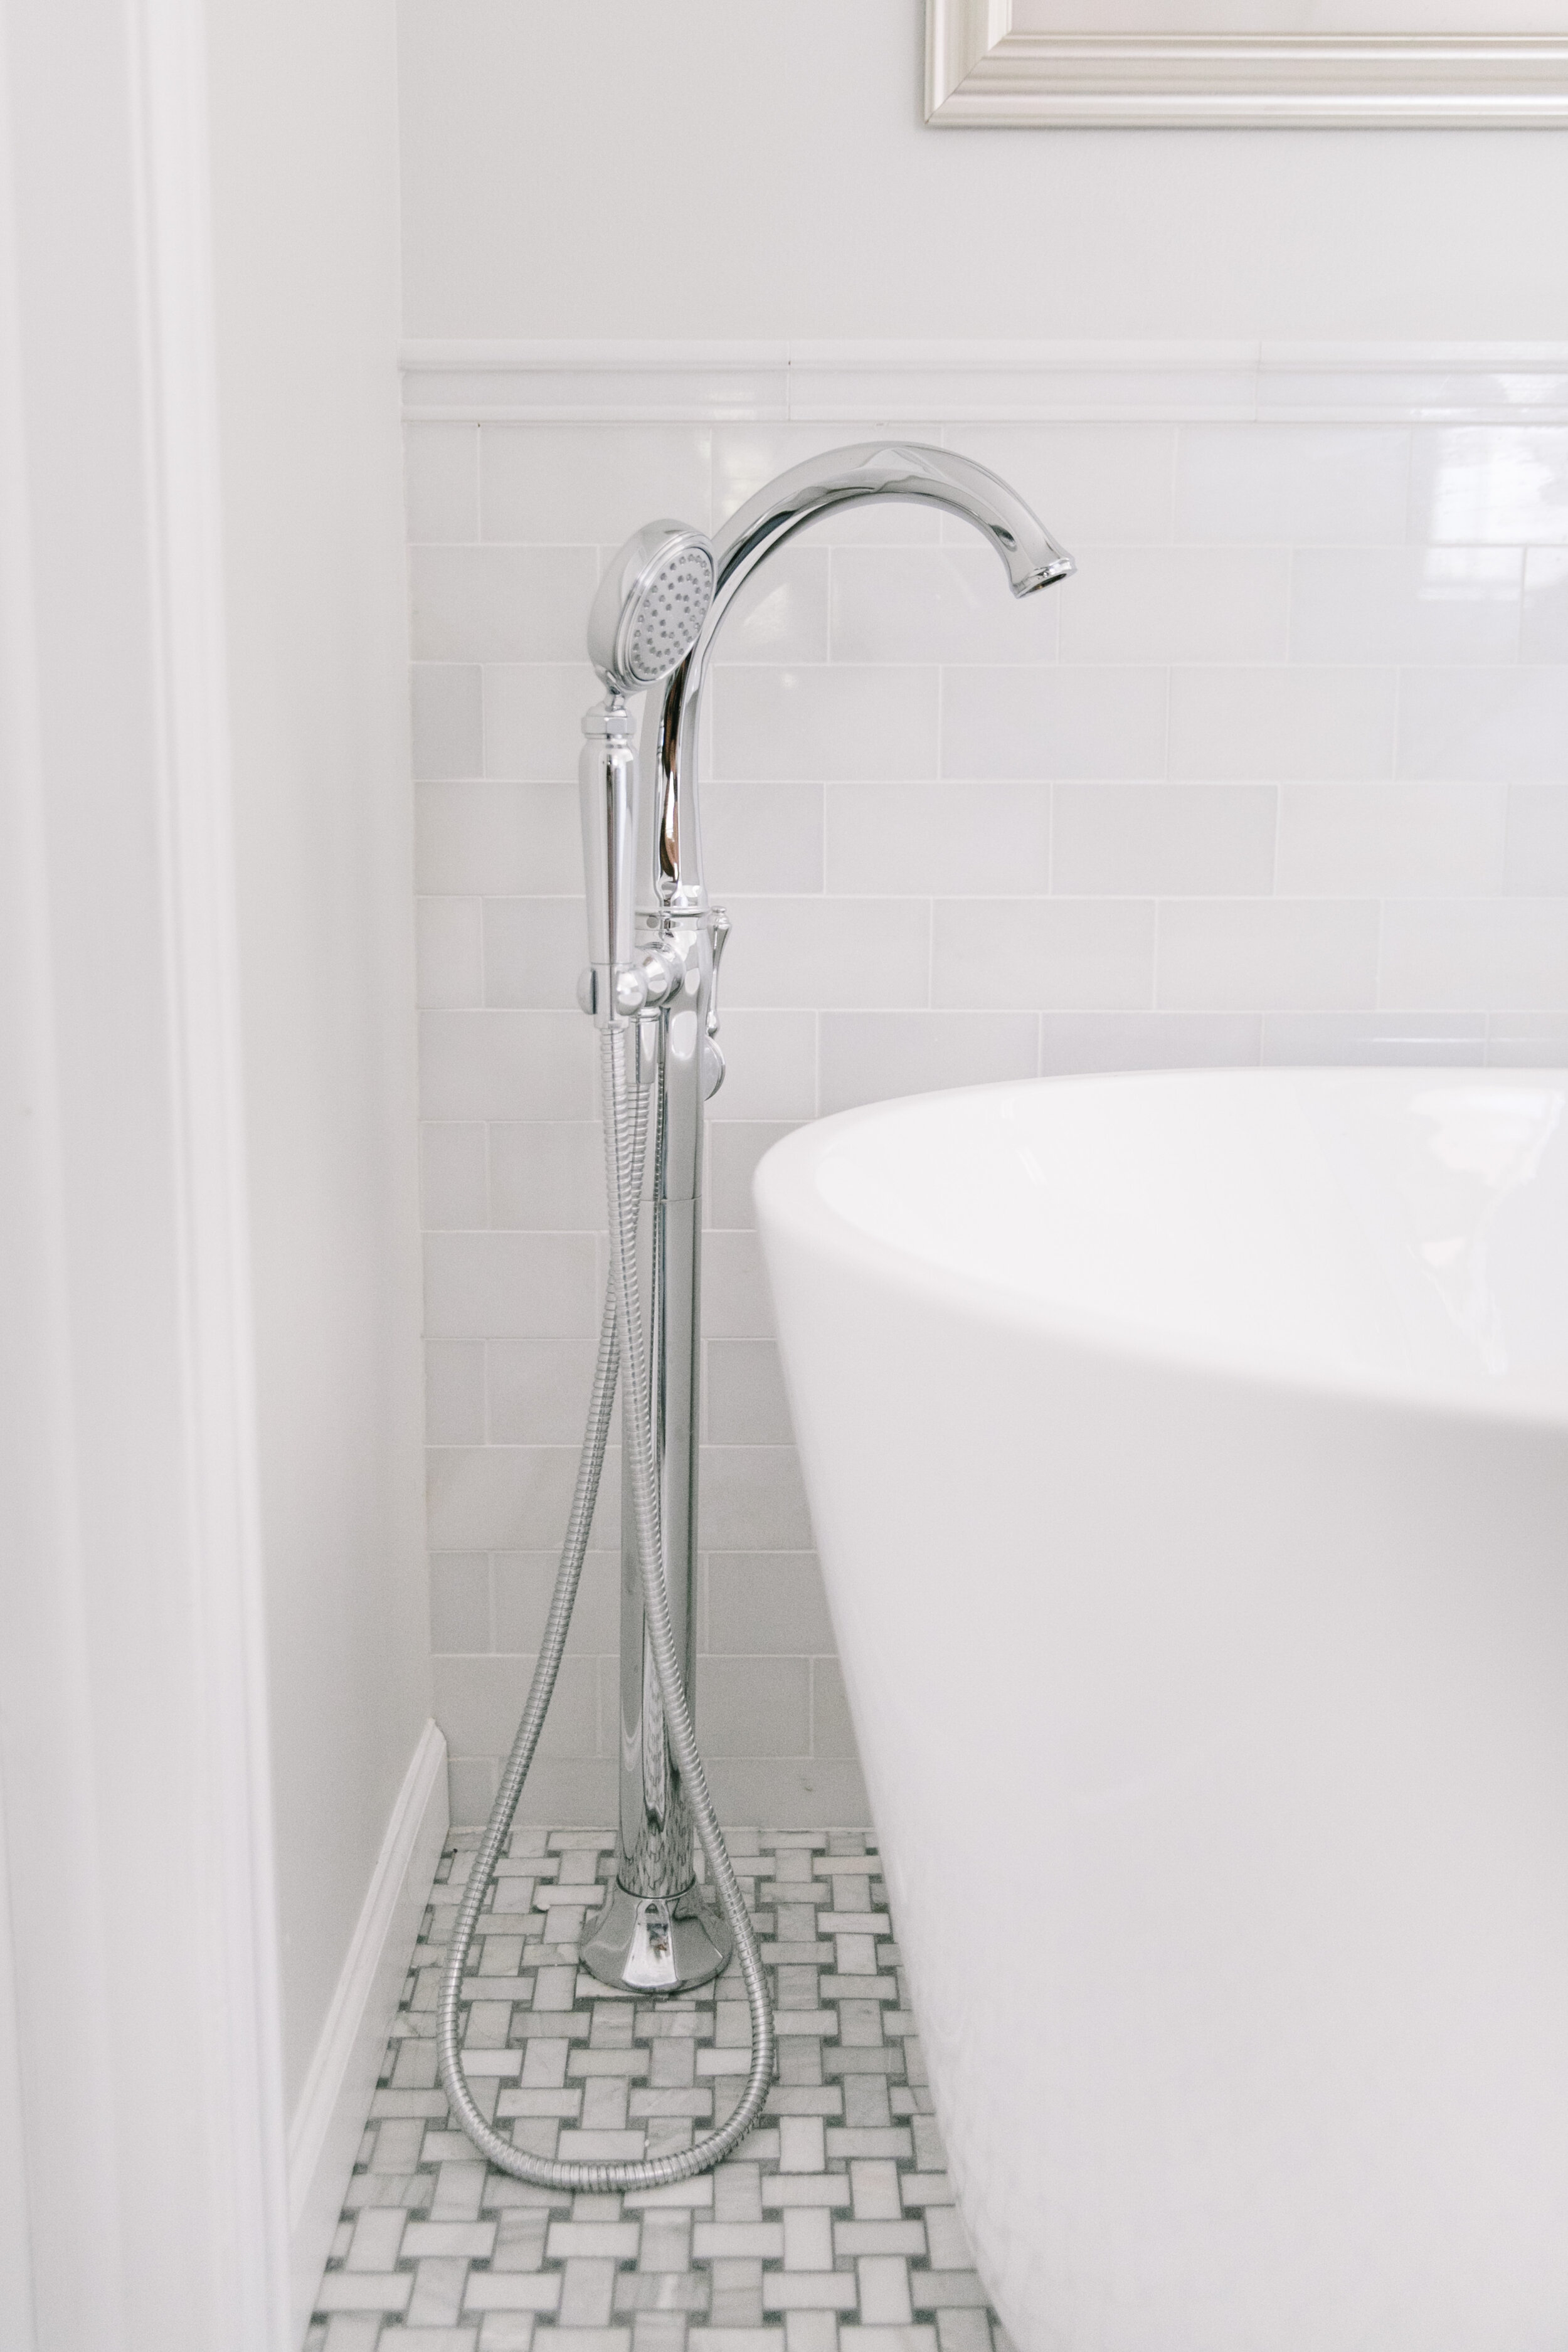
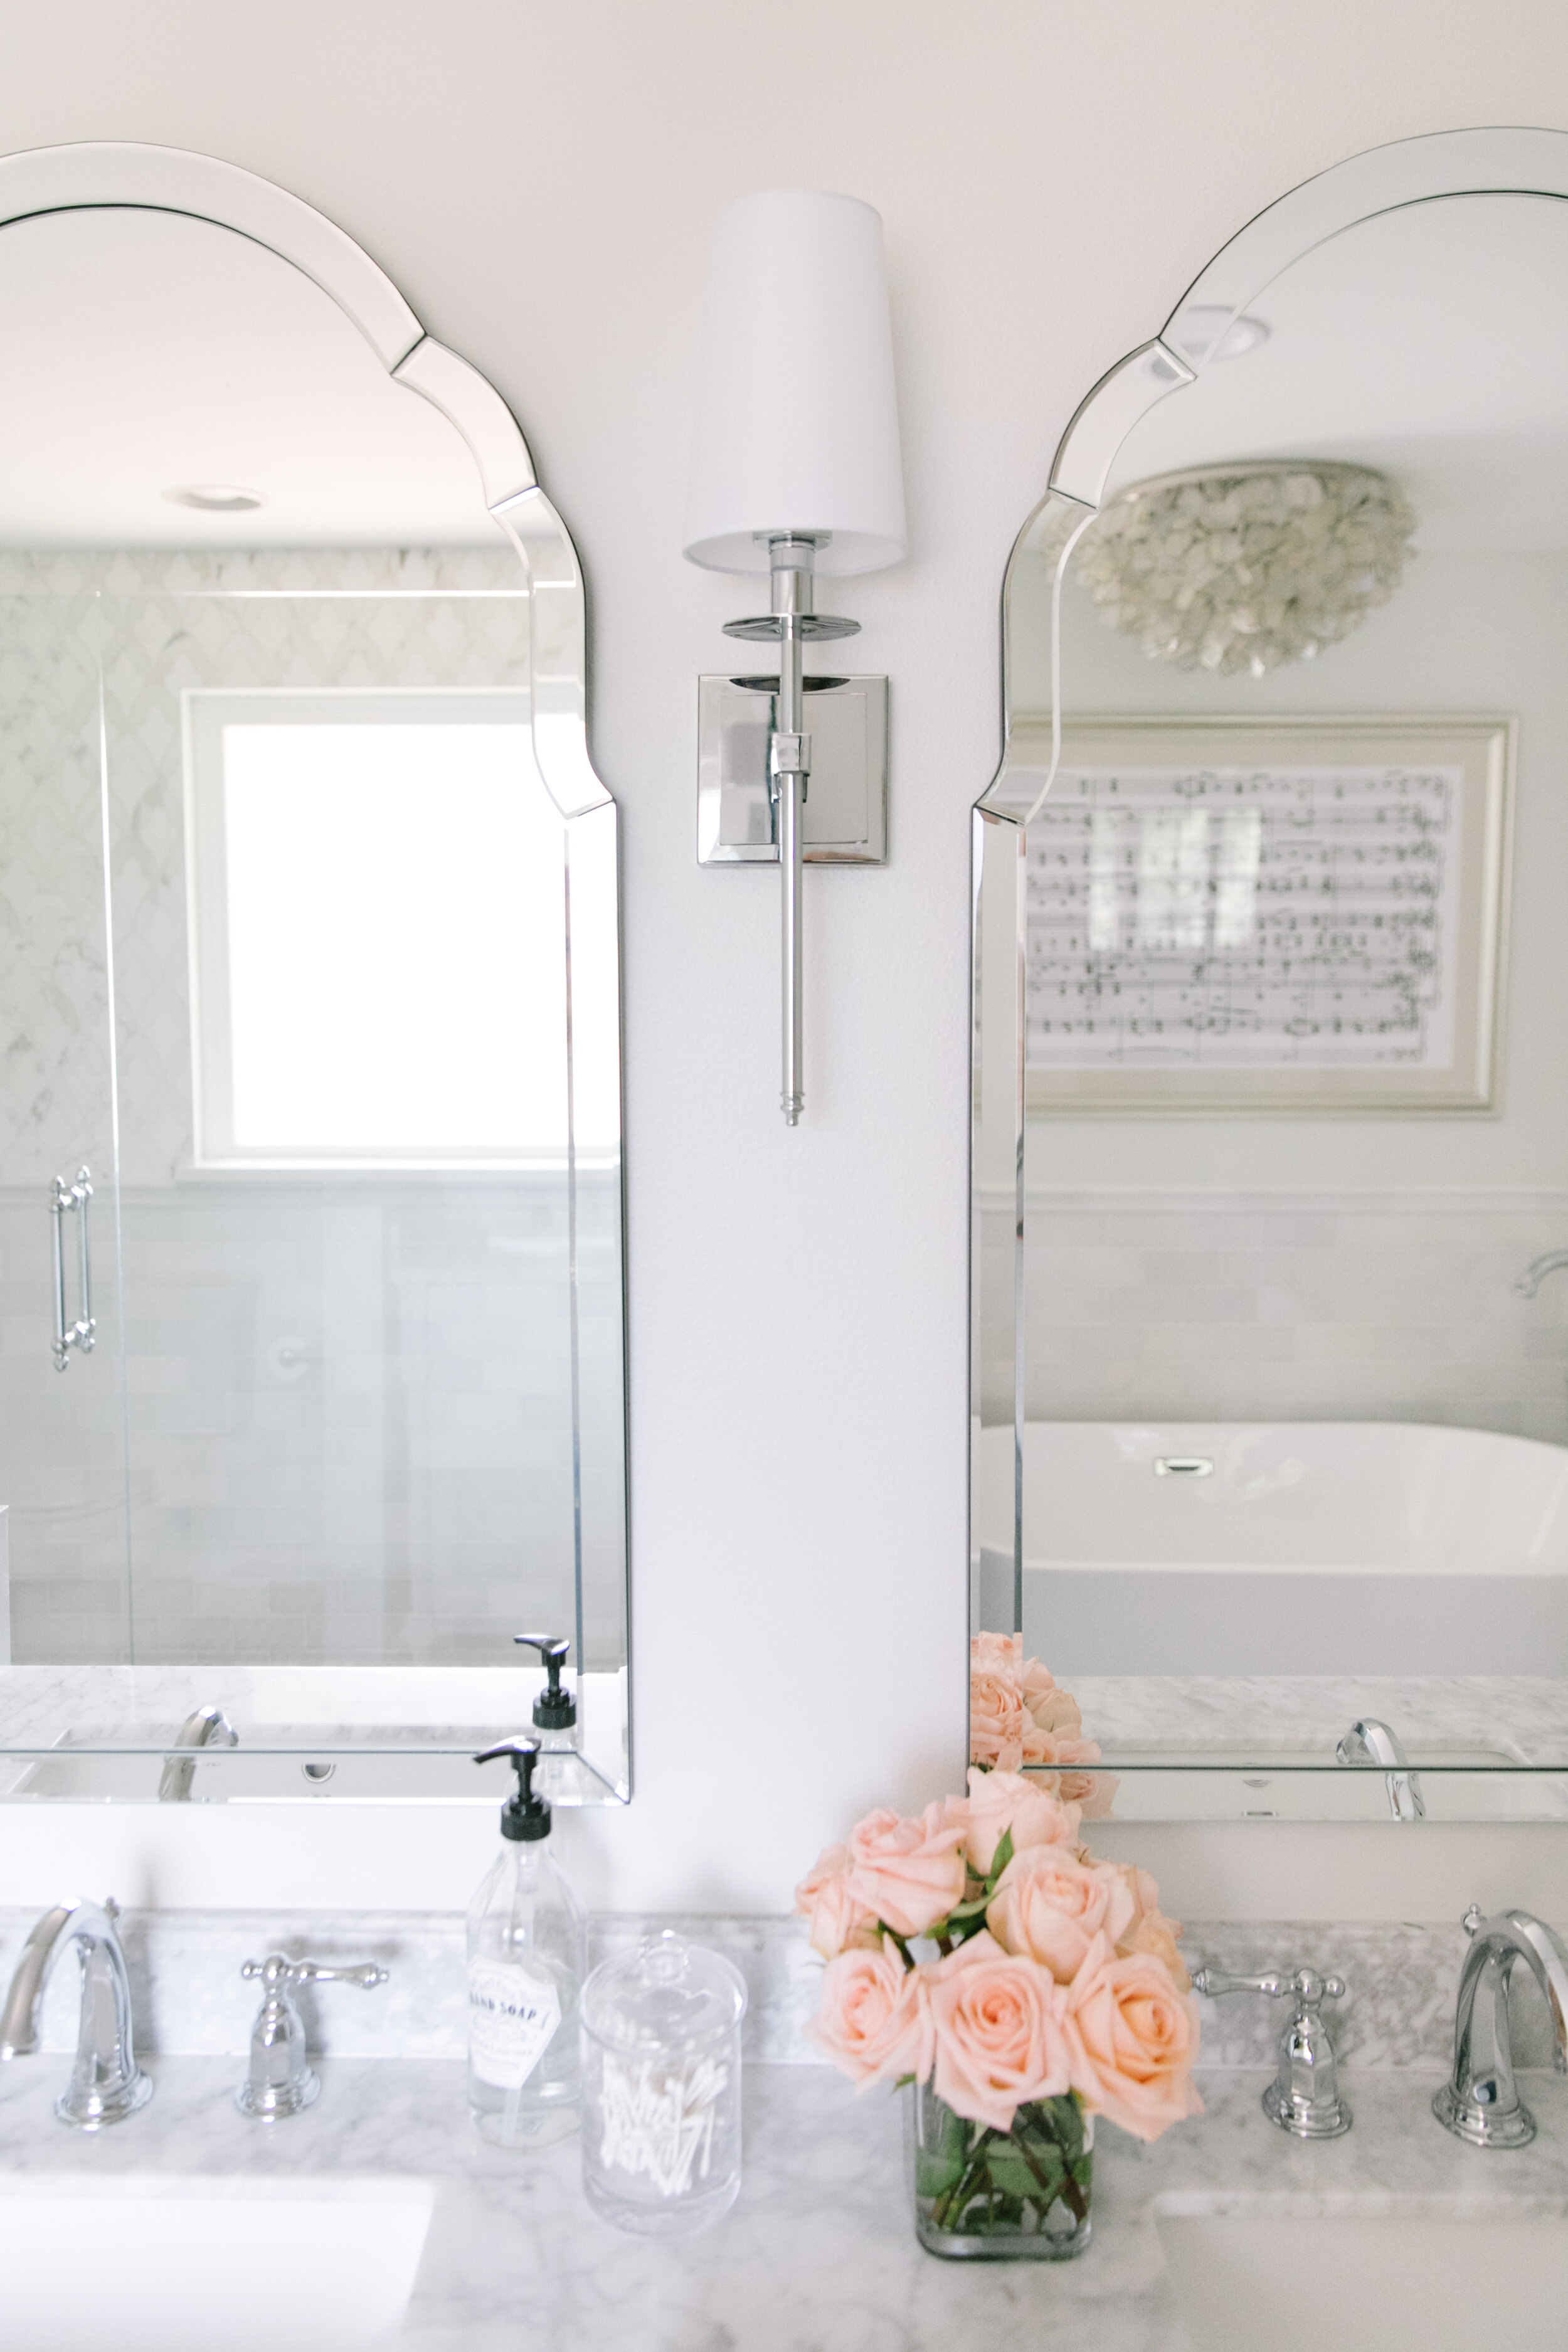
Again, the project reveal for a remodel is a little bit different than for a decorating project because the homeowners have been seeing the work ongoing for weeks. Remodels can be exhausting to live through (especially when it’s your master bathroom that is out of commission!) but when you look at these before and after pictures, it makes all the hassle seem so worth it!
BEFORE
AFTER
BEFORE
AFTER
BEFORE
AFTER
Step 10: Photography
For a transformation this good, we scheduled our go-to photographer, Callie Hobbs, to come by and shoot the space. We did minimal styling with just some fresh white towels and a splash of peach roses and let this beauty speak for itself.
Lead Designer: Corinne Ekle Project Manager: Kelsey Noel
Are you feeling inspired to start your own renovation or home update in the New Year? Head to our Services page to learn more about the ways c2Design can help you reach your design goals!